Have you ever found yourself needing to import a heap of waypoints, say, while you’re in a rush, in a noisy environment, with time pressure etc etc..?
If you need an easy way to get this done, then don’t fret! – There is a way…
Rather than add waypoints one by one directly into BaseCamp, you can create a spreadsheet with the waypoint data in it, then import it into GoogleMaps, then export a KML file from there, and import it directly into BaseCamp. From here, you can easily create a route, then start to tweak it as needed…
This might be useful, say, if you’re away from home, maybe in a small hall somewhere, in the company of a heap of hairy, sweaty long-distance riders, when it’s getting late, you can’t think straight and all you want to do is go to bed to make sure you’ve slept well before your 1600km ride the very next day???
Getting those waypoints added in nice and quickly might save you a heap of stress. – So, here’s the step by step, included below…
Prerequisites:
- Garmin GPS.
- Laptop and power supply.
- BaseCamp installed.
- Excel installed.
- Cellphone with hot-spot option.
- Google account
- USB dongle for laptop if needed.
- USB cable for Garmin GPS.
Steps:
- In Excel, create headers ‘lat’, ‘lon’, ‘name’.
- Add in the typed coordinates in whatever format you have them supplied in.
- Check them carefully, a typo will create an enormous headache!
- Save your XLS sheet using ‘Save As’. Chose the CSV format option. Give it a filename which you’ll remember and take note of where you have saved the file.

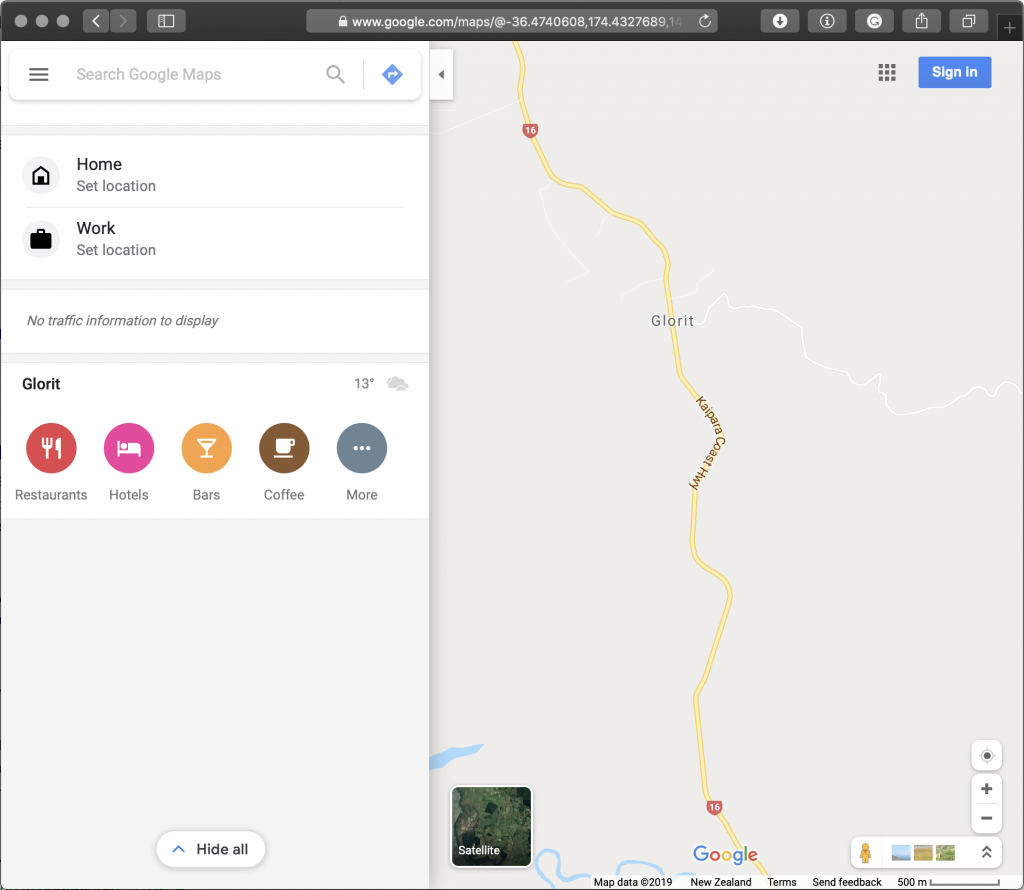
- Open a web browser to http://maps.google.com/
- Sign into your Google account. – Click on that blue Sign In button.
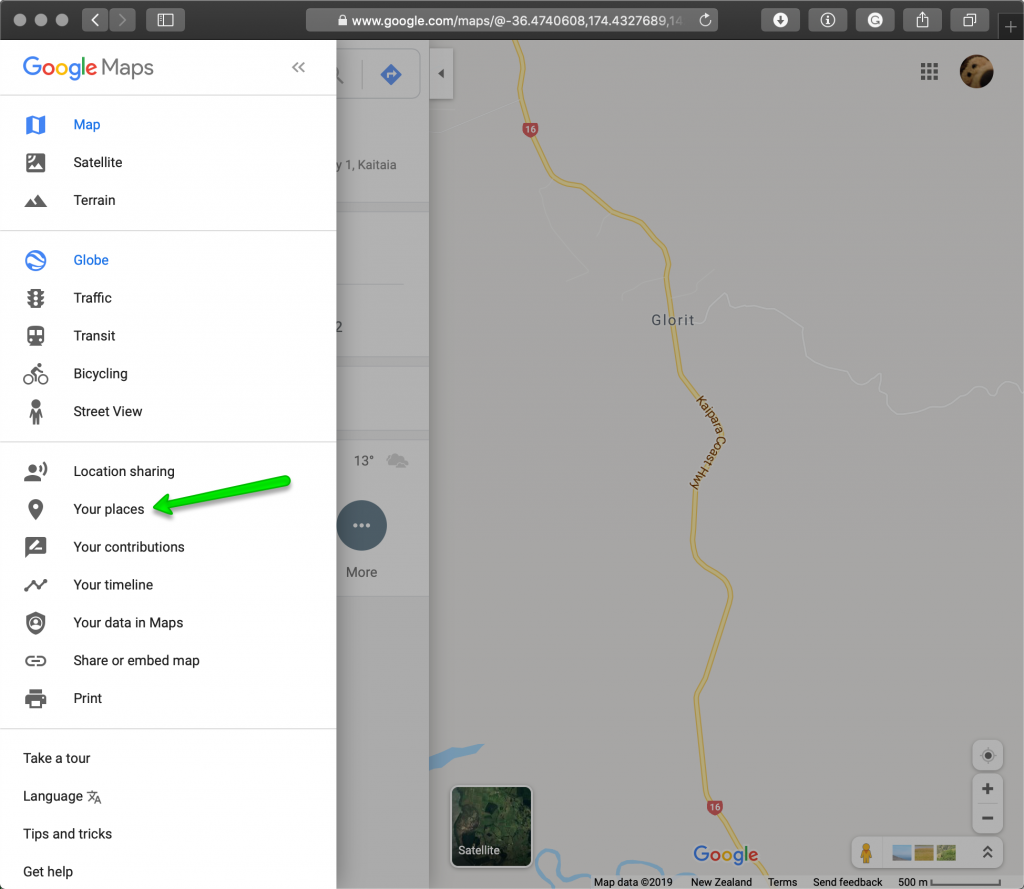
- Click on the tripple line icon to expand the GoogleMaps menu.

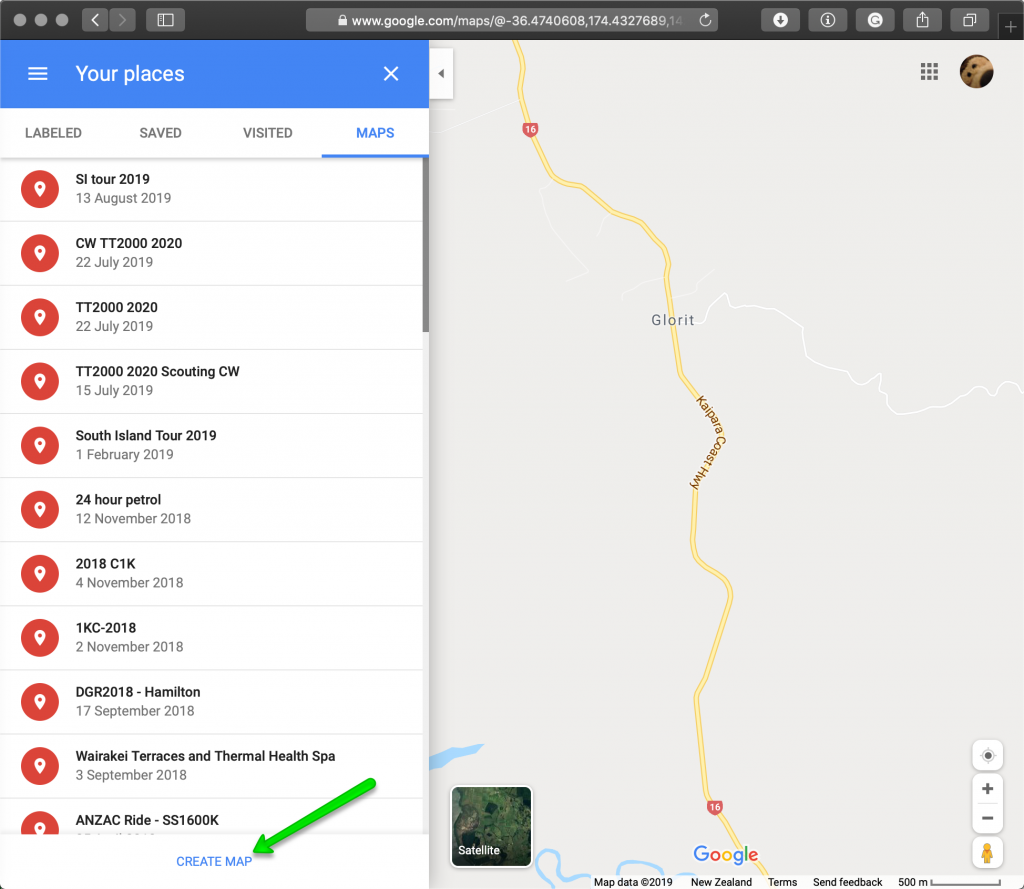
- Click on the ‘Your Places’ link.
- Chose MAPS at the top of Your places:
\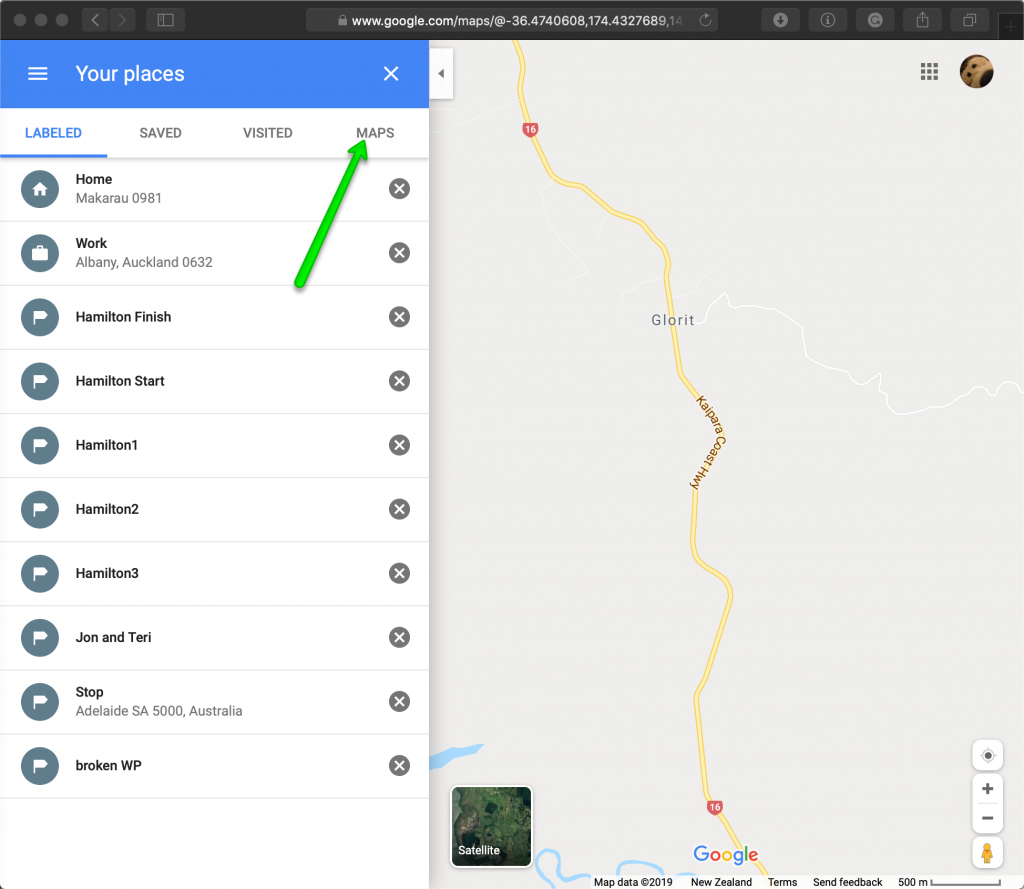
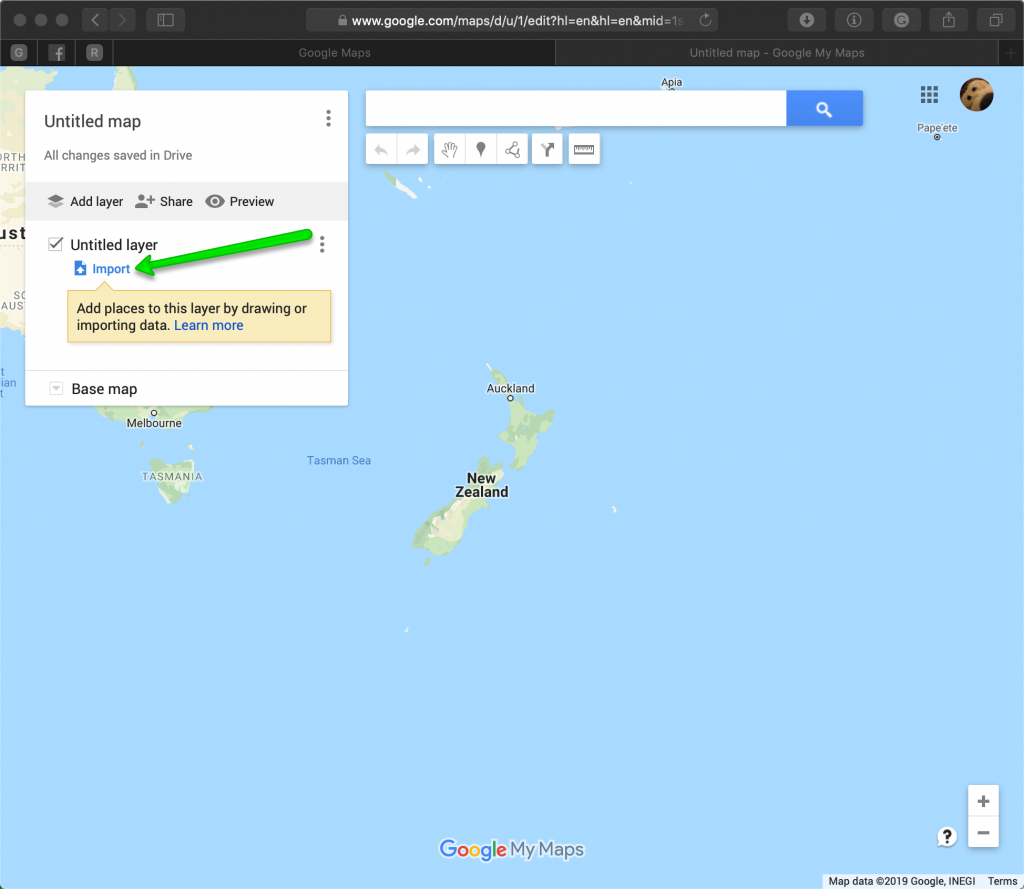
- Then Create New. – You don’t need to title the new map…
- Use the ‘Import option within the new, untitled layer.
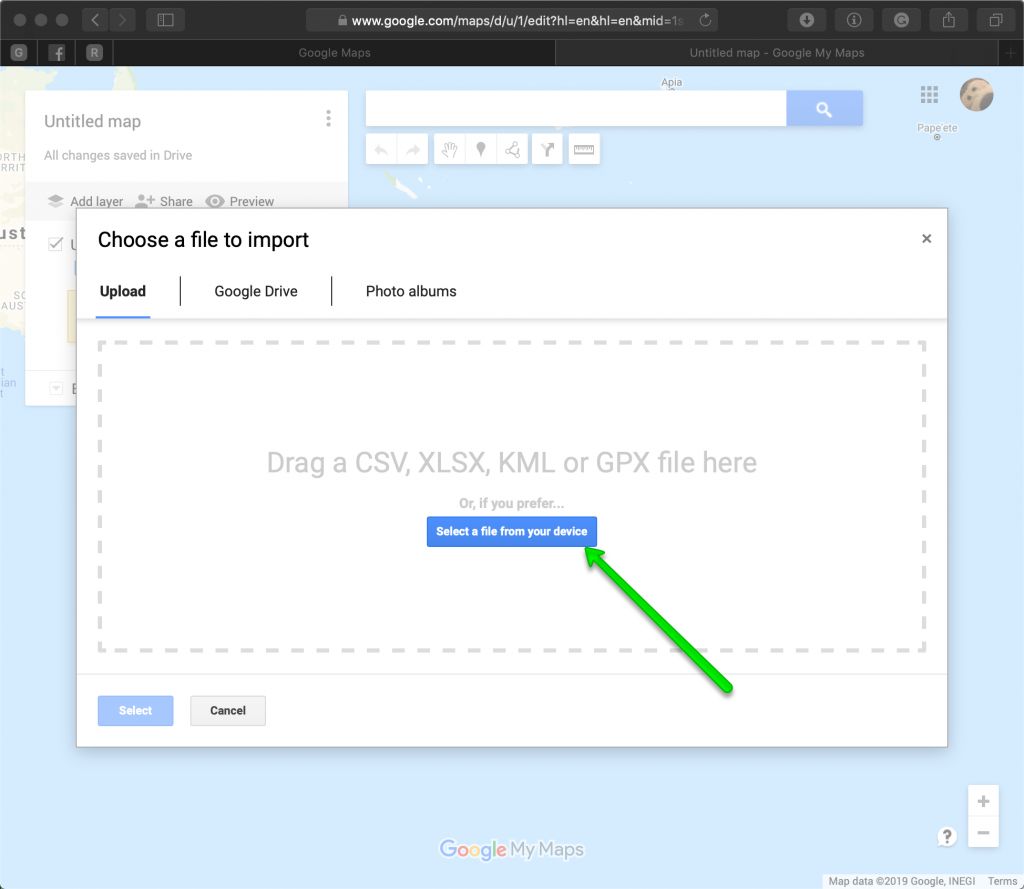
- This will bring up the file to import dialog… Click the blue-button, browse for your CSV file and import it…
- It will read the CSV file, and find the column headers.
- The first prompt asks what columns position your placemarks (waypoints).
- If you’ve named them as instructed, it will automatically pick up the latitude and longitude column headers.
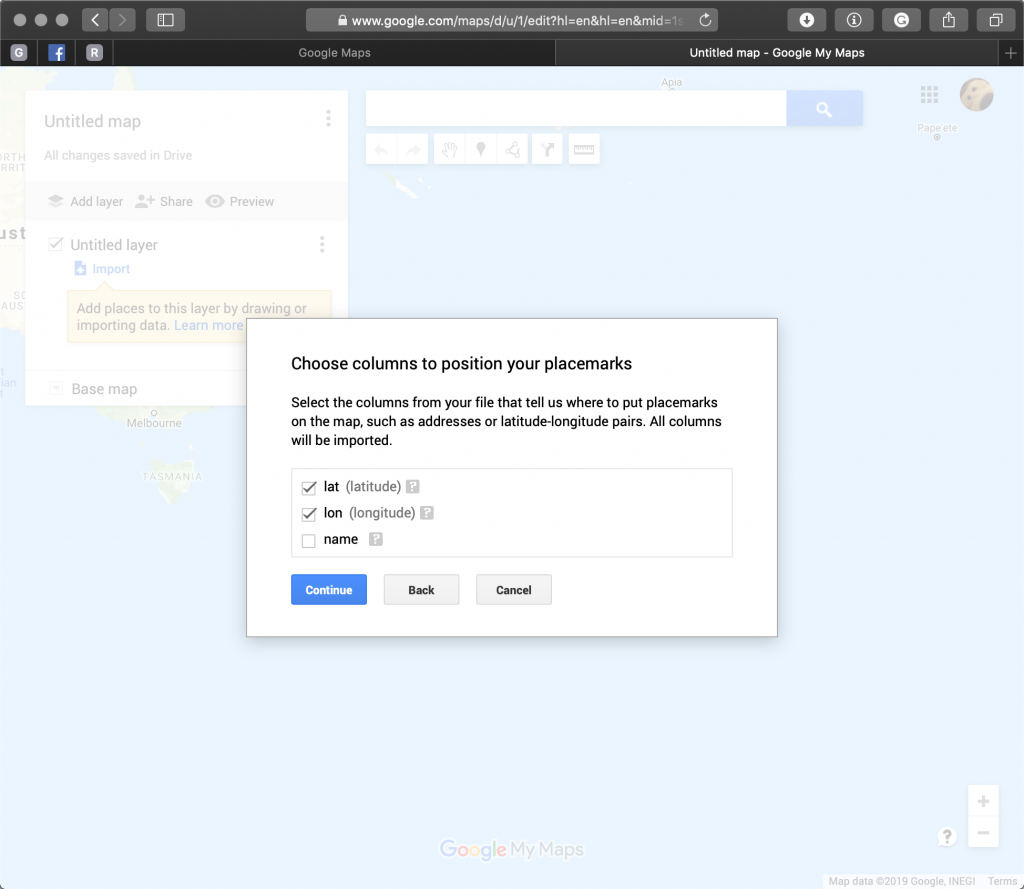
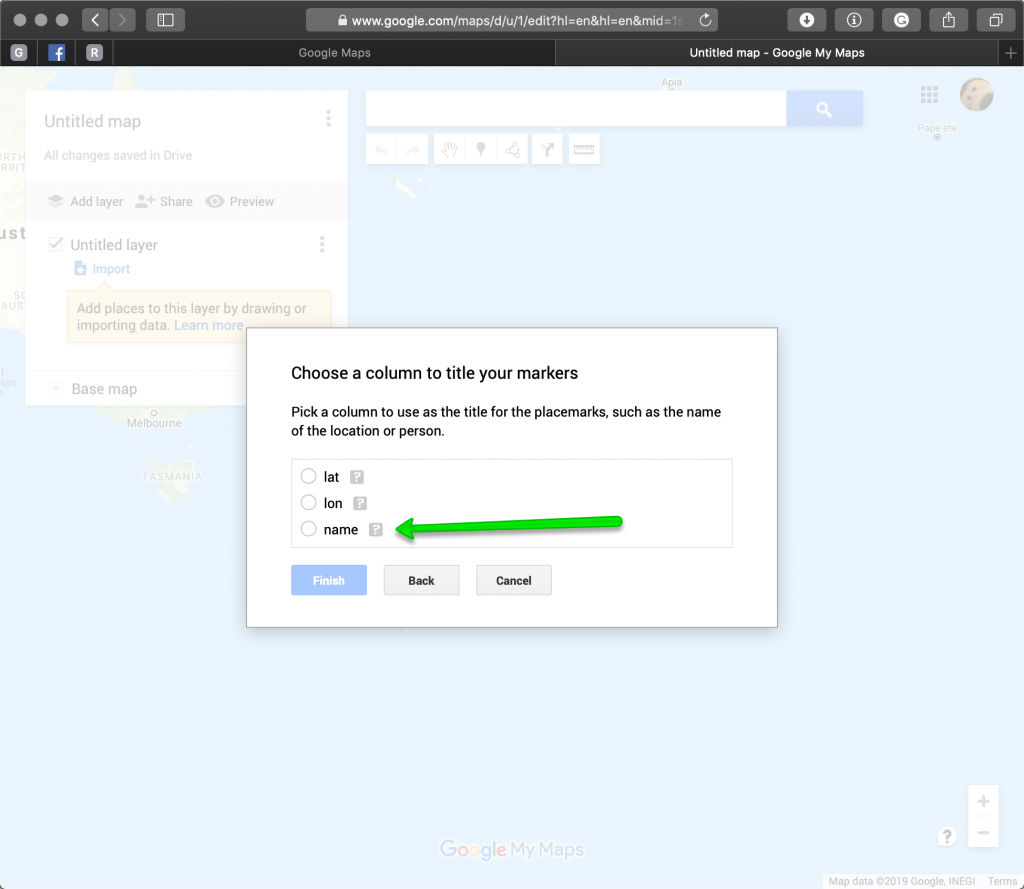
- The next prompt asks you about the names of the waypoints, which column to use for the names, you have to select the ‘name’ column.
- Then click the blue, ‘Finish’ button.
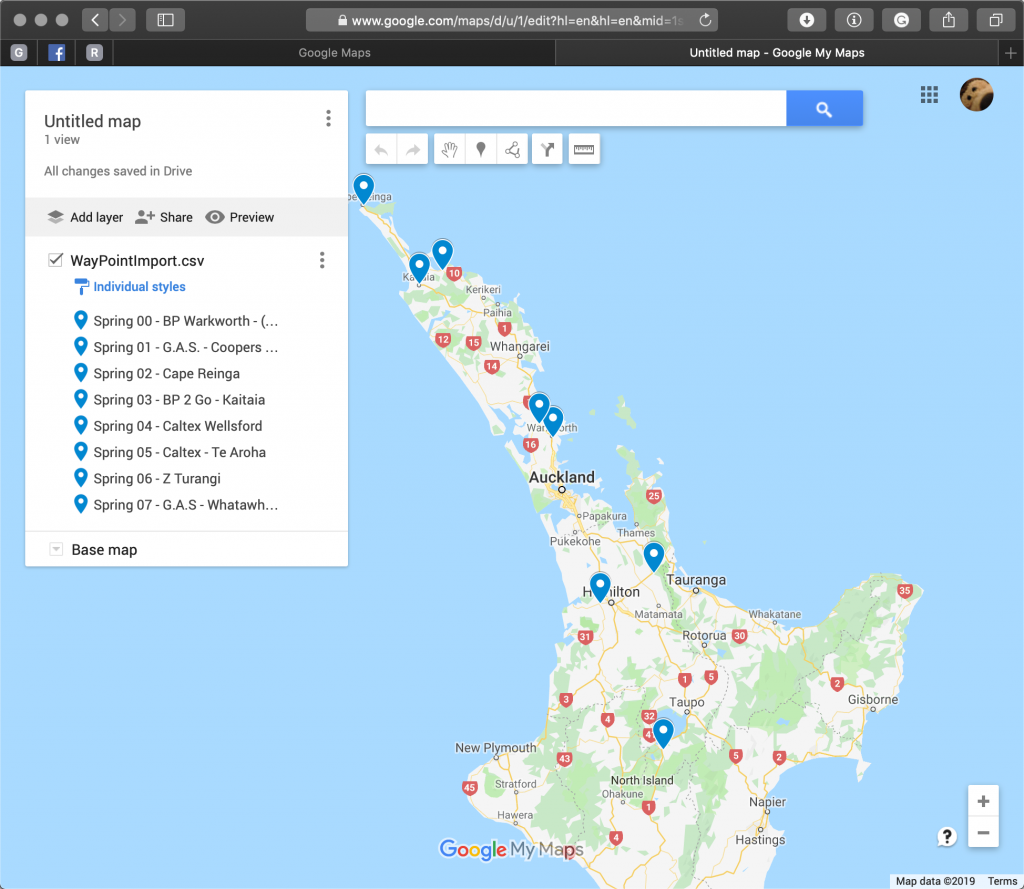
- Google maps will have now read in your CSV, and will place the waypoints as follows.
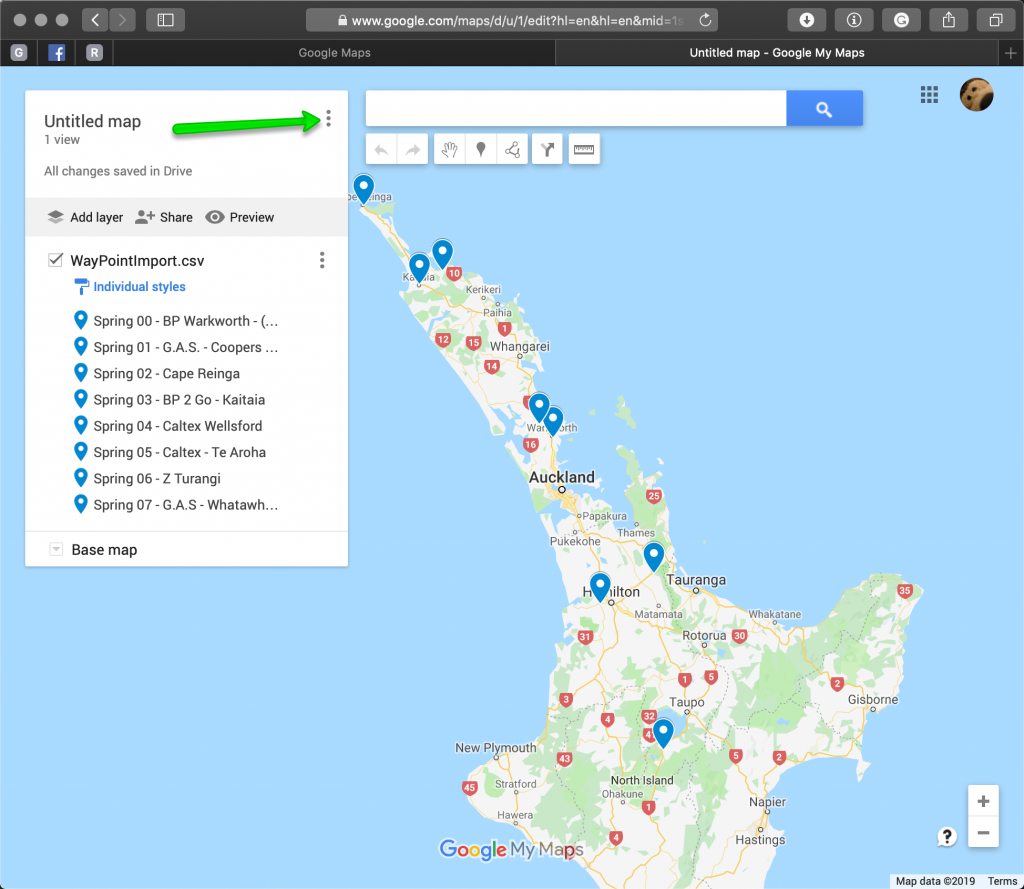
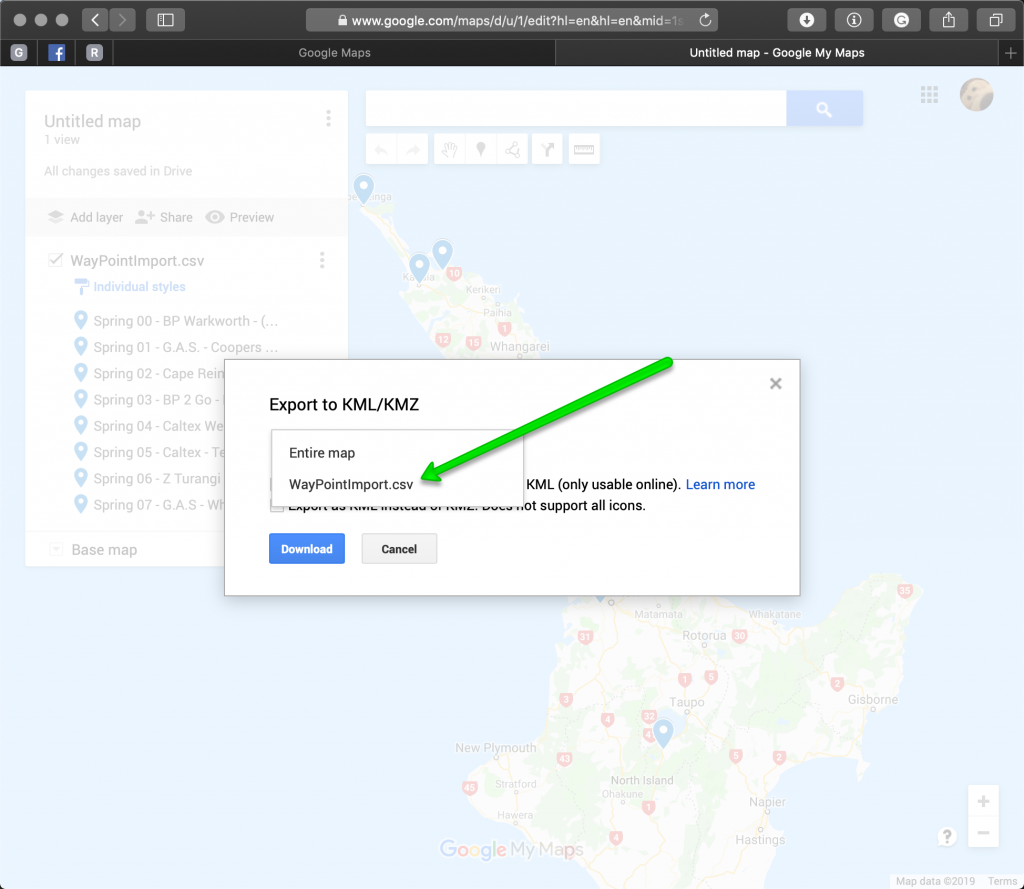
- Next we have to export them in a KML file format, you can do this from the vertical ‘…’ icon at the top, next to the map’s name.
- Choose Export to KML.
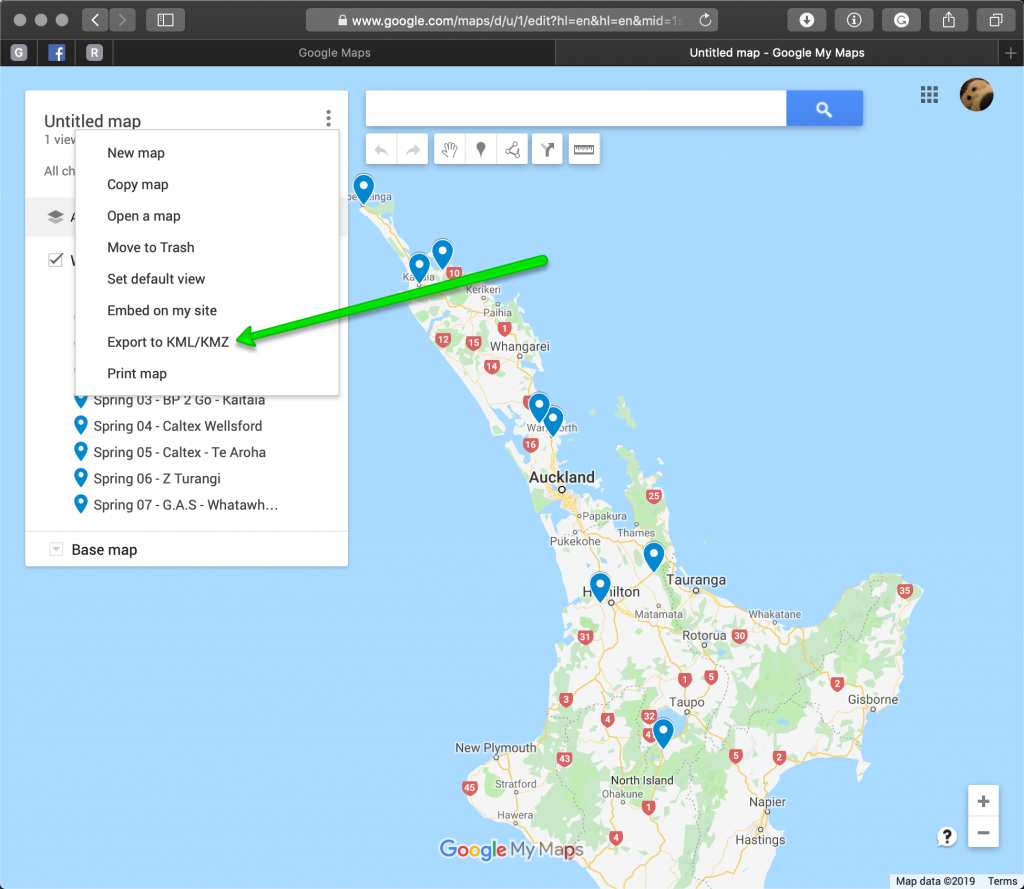
- You can select just the layer which you want to export. In this case the layer name is WayPointImport.csv – it took the layer name from the filename which I used to move the waypoints out of Excel.

- Select the content you want to export, then click the blue, Download button.
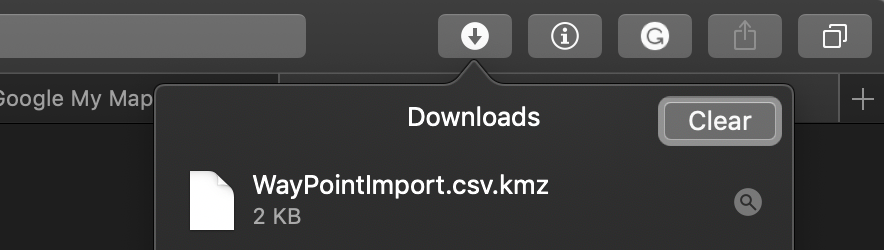
- This will create and download the KML format file to your computer.
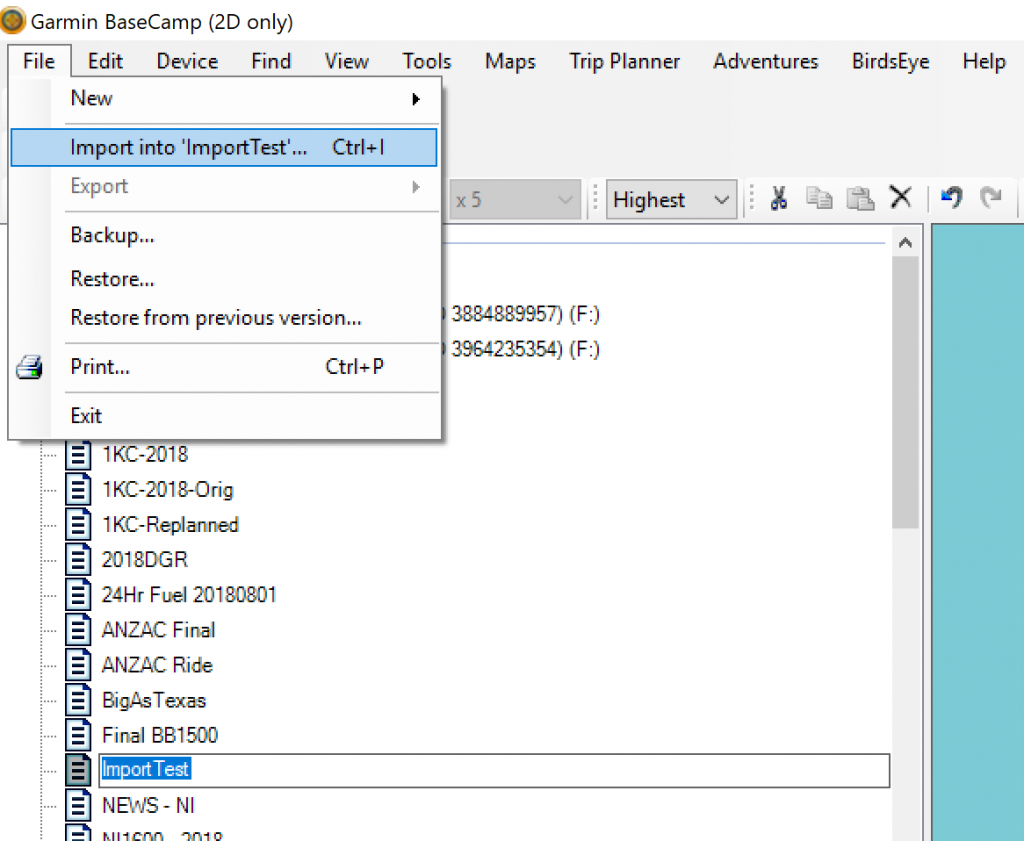
- Now go into basecamp, and add in a new List, into which we’re going to import the waypoints.
- Then from the File menu, with the new List item selected, chose ‘Import into xxxx’.
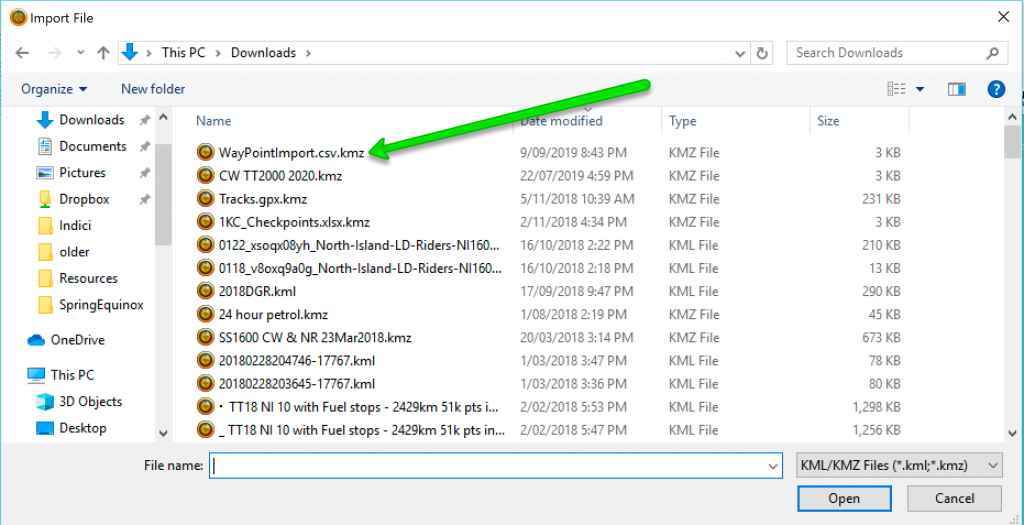
- This will open a file explorer window.
- Make sure the file type of KML, KMZ is selected.
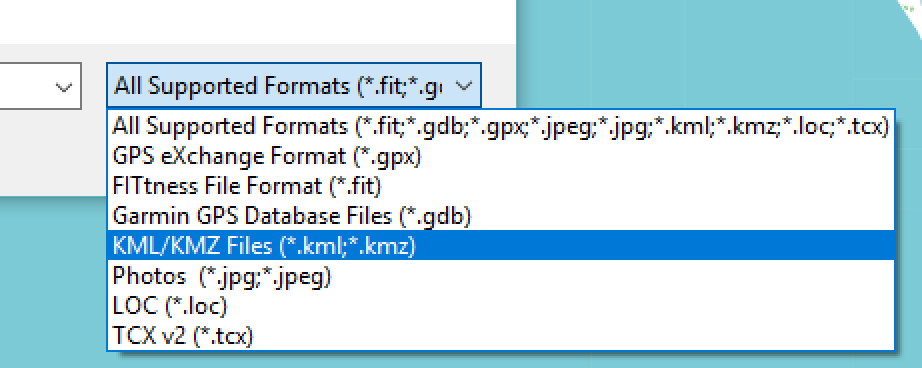
- Find your downloaded file, and chose Open.
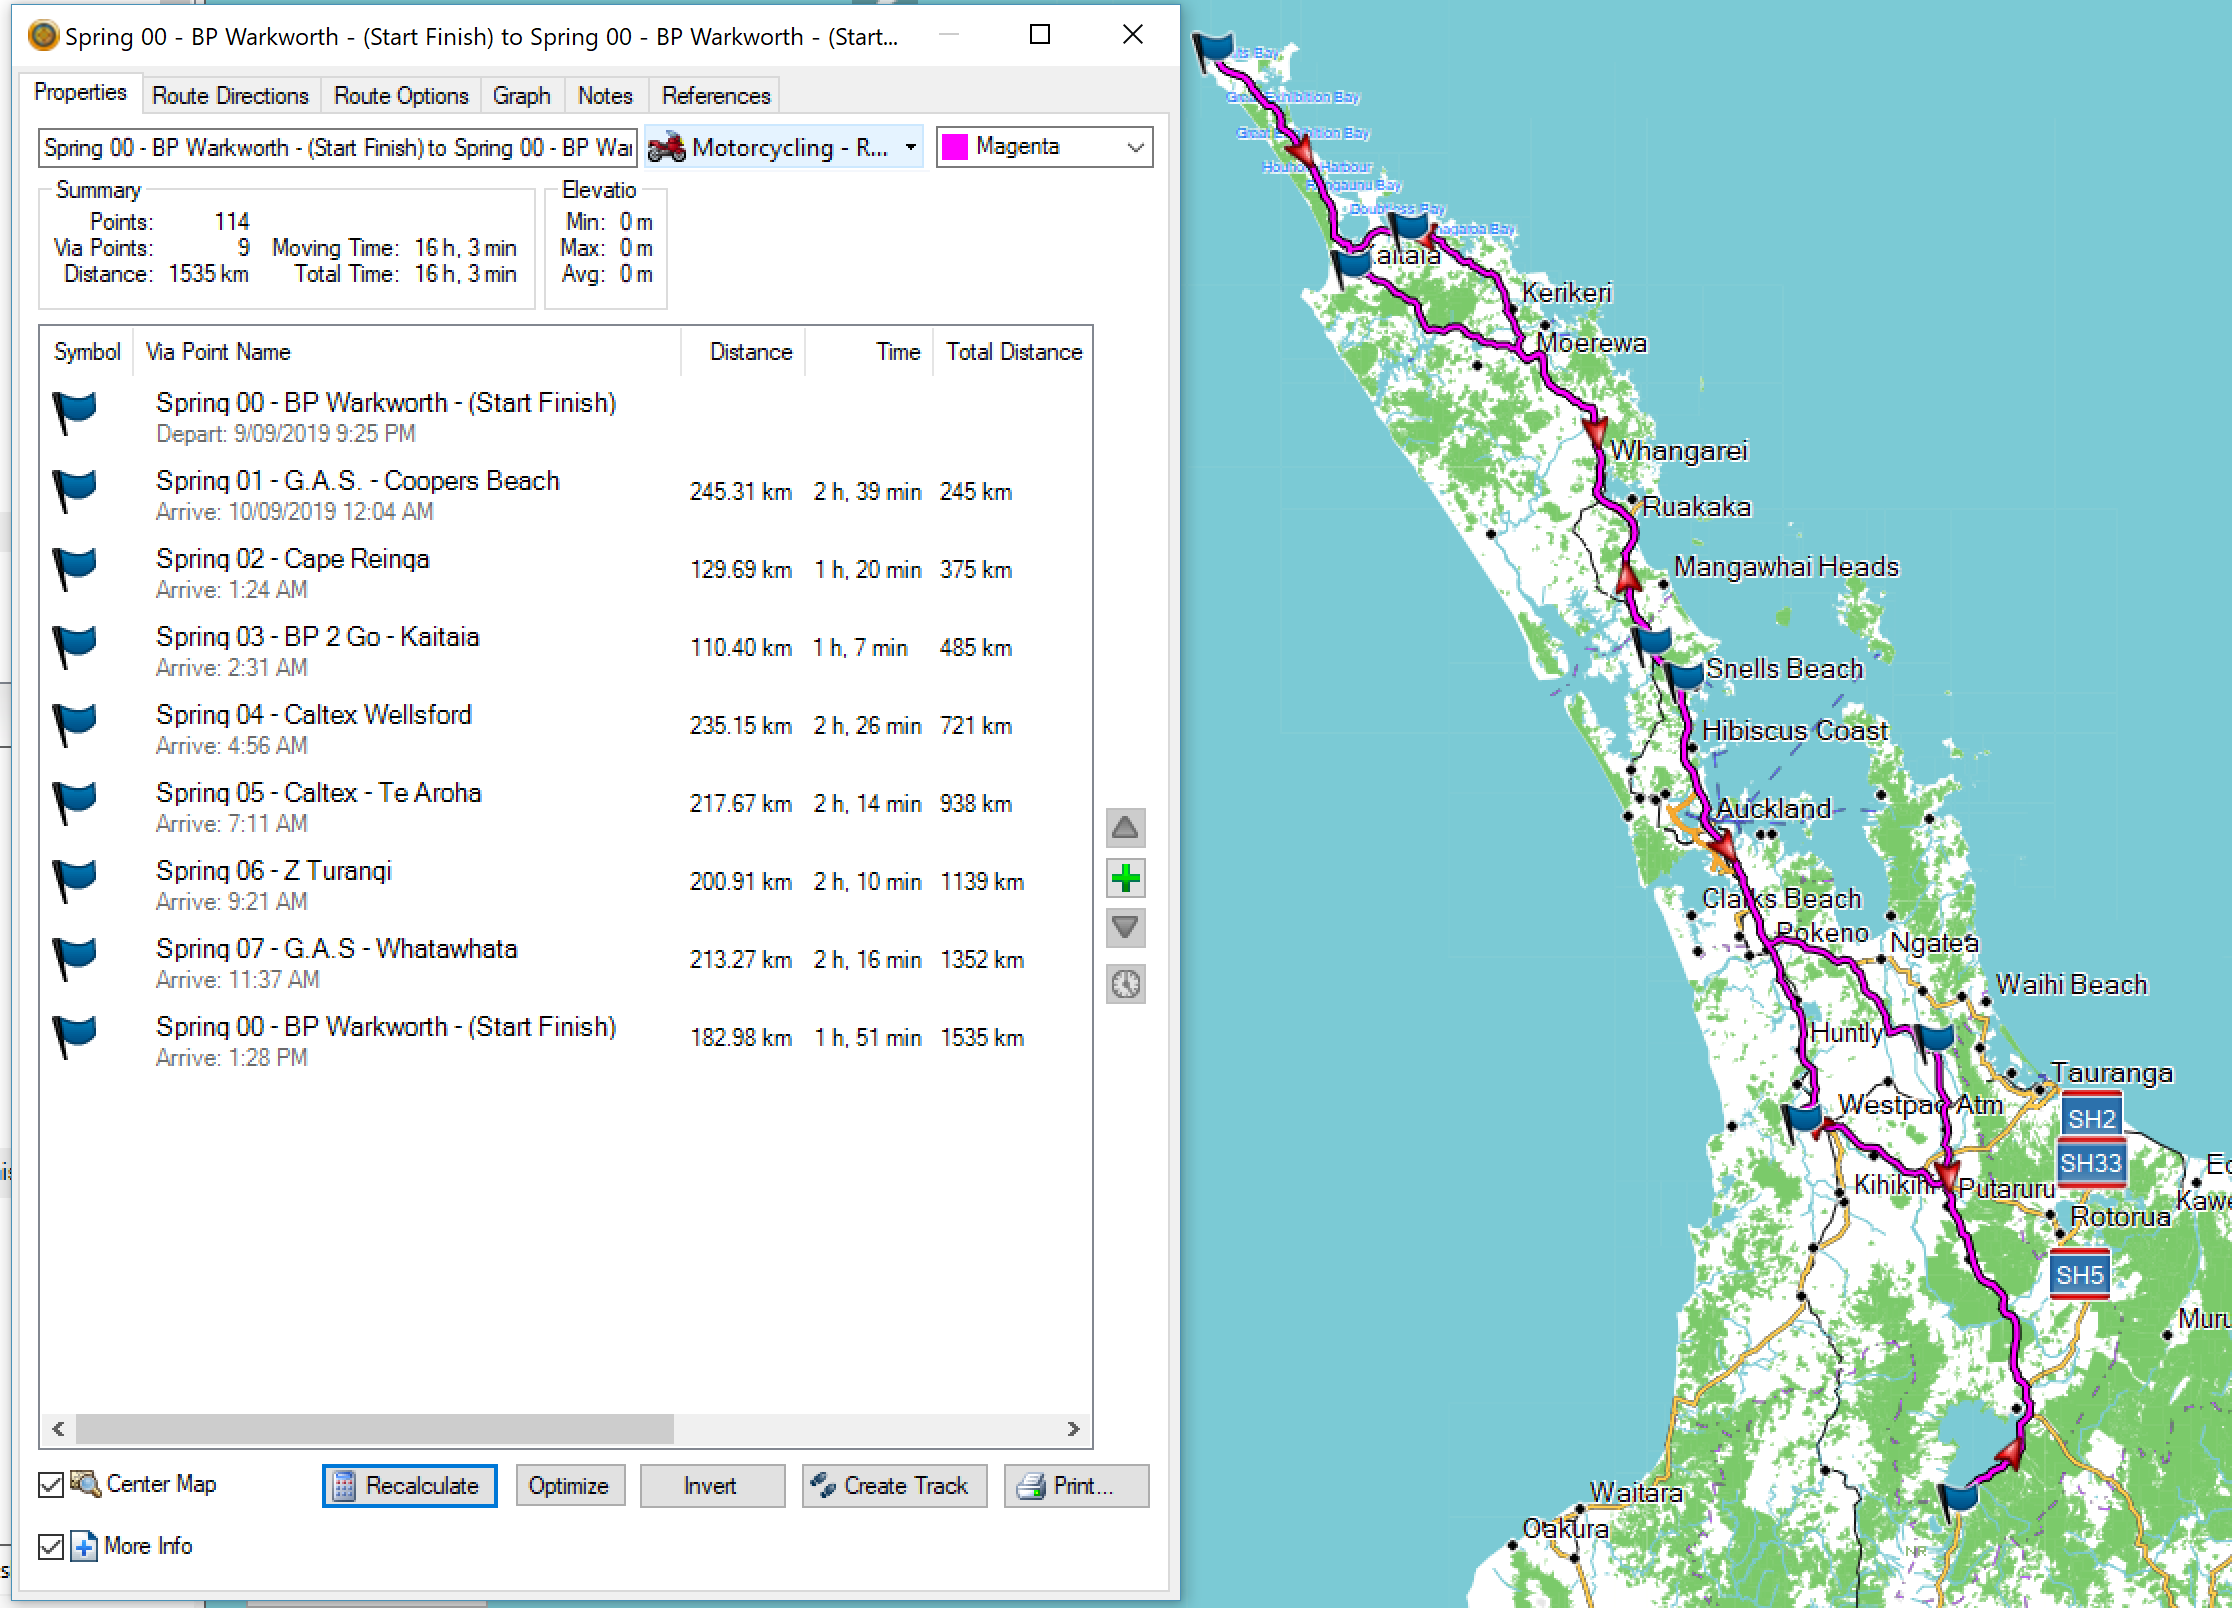
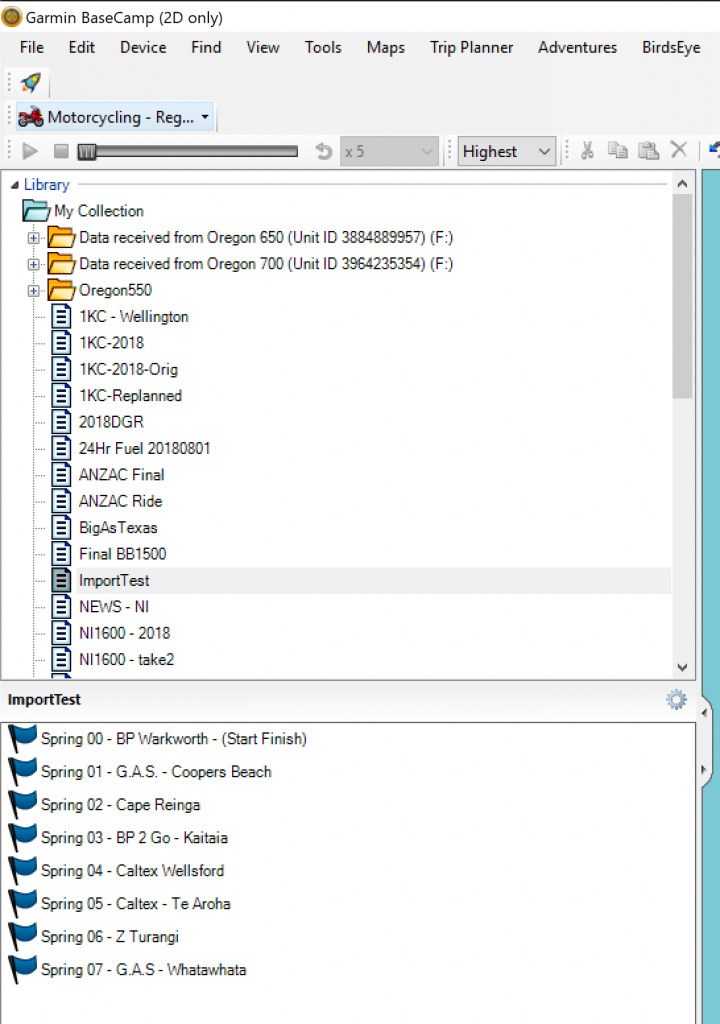
- When imported, your Waypoints will show up in your new List Item, like below.
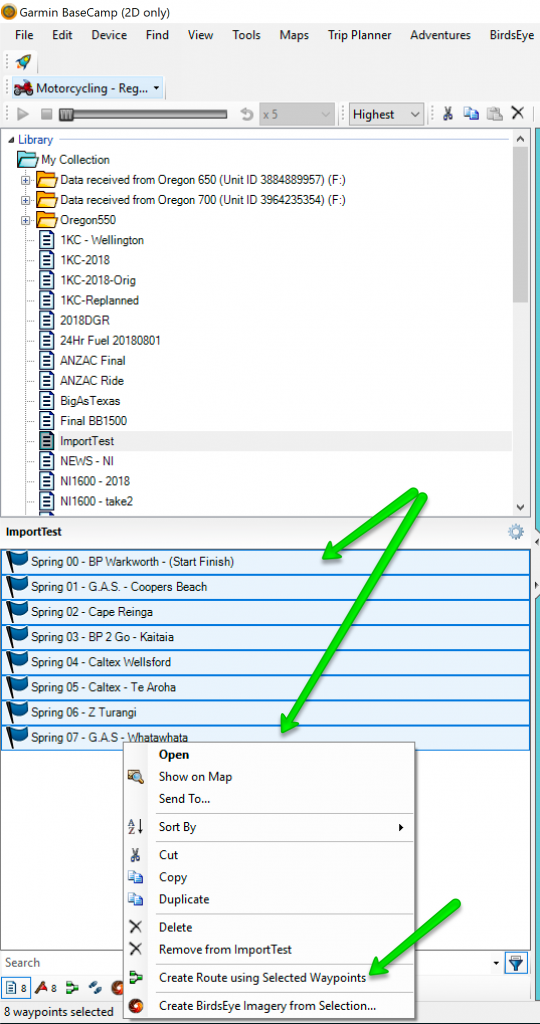
- If you want to quickly create a route from them, you can select them all using a mouse click, then holding SHIFT, click on the last item, that will select them all. Then right-mouse- click to open up the ‘context menu’ – this provides and option to ‘Create Route using Selected WayPoints’.
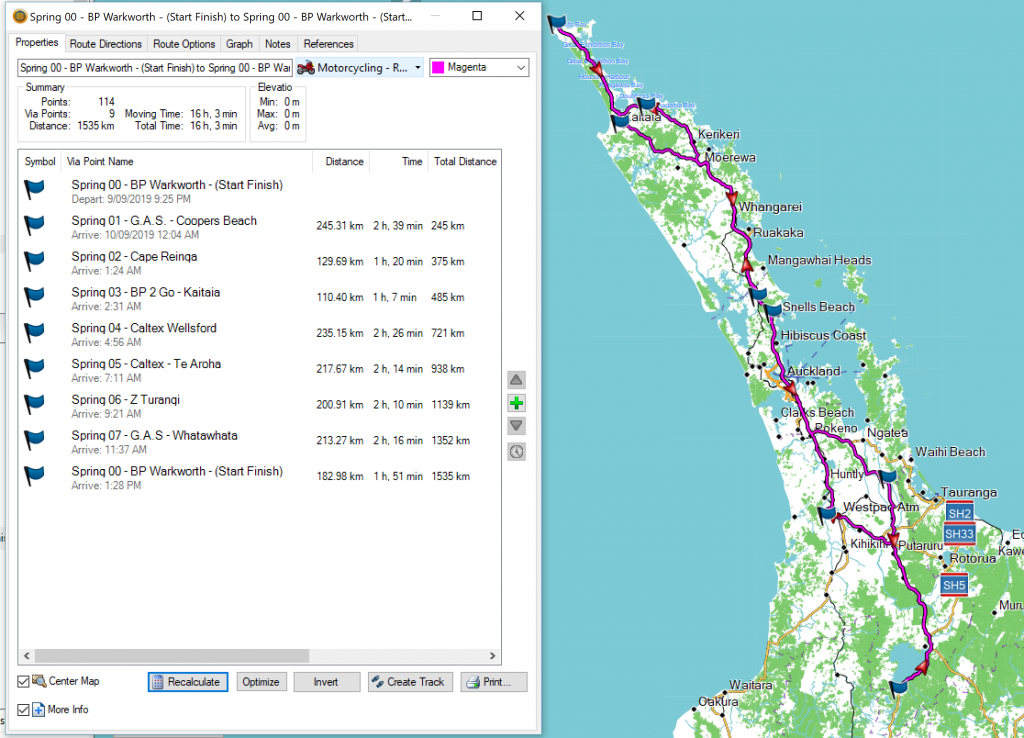
- If you named the waypoints sensibly, so that they remain in an alphabetically sorted order (by numerically padding waypoint numbers with ‘0’s etc’), then they should retain their order, through GoogleMaps, and when imported into BaseCamp, and even into the newly created Route.
- Within next to no-time you have the start of a route available within BaseCamp, with time to play around with Fuel stops and the finer routing points…
Other tips:
Reshape the route by:
- Select the HAND tool
- Zoom-in appropriately so that you can see where you’re about to try to drop the route to.
- Selecting the route using the mouse, then hold ALT down, while dragging a portion of the route on the map.
This will add route shaping points into your route list.
Make sure you name your waypoints with something you can use to search uniquely for, within this particular ride. When you’re fumbling around on the ride, and can’t find the next checkpoint it’s always good to be able to filter. In this example, I would search for ‘Spring 0’ which would limit the results to JUST those for this ride.
Once you have nailed creating your route in BaseCamp, if it’s exactly where you want to go on the road, then be sure to create a Track from your route (right-click on the Route to do this). A Track will not change, nor will it be interpreted on your GPS differently to how you expect it to be. You can turn on the display of your Track before you ride, and have it over-laid on your map. This will take a different colour to the GPS’s directions (to the next checkpoint), and if it diverges from the Routing marks, then you’ll see that your GPS is starting to take you on a route which is different from that which you’ve planned in BaseCamp…. – I ALWAYS do this now.