These tips and hints are for those who want to get the most out of their Garmin GPS for routing their motorcycle trips on highways.
The first thing to do is to make sure that you have an autorouting Garmin GPS, and then make sure that your maps are up to date, from a good source and working as expected.
- Do you have an autorouting Garmin GPS?
Not all handheld Garmin GPS devices can perform autorouting (this is automotive routing, based on highway information embedded into certain maps). Any of the dash-mounted automotive models of Garmin GPS units can do this, but you don’t strictly need to go for one of those models. For example, I have used several models of Garmin Oregon GPS over many years (Oregon 550,650,700).
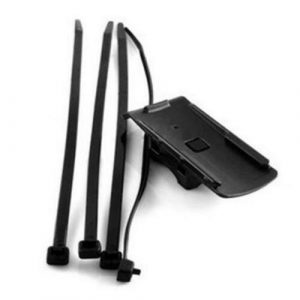
I bought the first of these or hiking and for Geocaching but was able to get various mounts including a RAM mounted cradle and also one of these basic mounts for this unit.
It plugs into a USB power source and has rechargeable AA batteries (x2) inside of it, which do recharge from that USB power input. Being an outdoors unit it is suitable for a degree of exposure to wind and rain too.
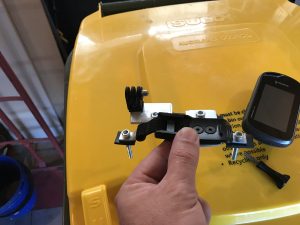
More recently on the Concours 1400, I’ve used the RAM mount cradle for it:
I don’t recommend this hand-held type of GPS for everyone, some people would be better to buy a dedicated Zumo device with a powered mounting kit.
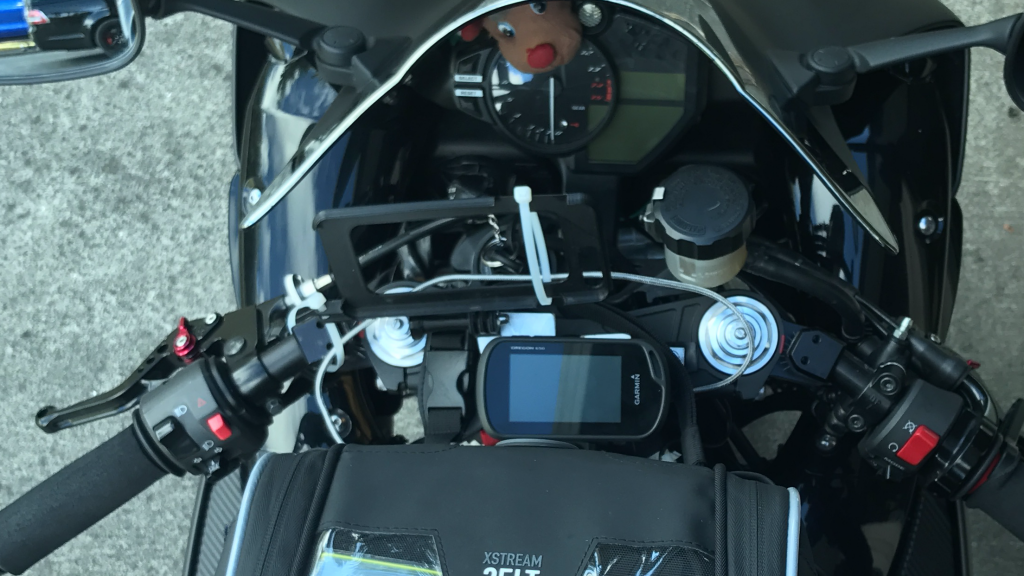
The Oregon unit is small and compact, so it suits a bike with limited space in its dash area (like the R1), it’s also a little harder to use with gloves on than some of the larger units which have menus and navigation buttons built specifically for motorbikes (and gloved fingers).
I just liked the idea of being able to use my existing hand-held device for an occasional motorcycle trip / rally which needed fully planned navigation. – For the casual trip, I use my cellphone, running the TomTom GO app, as this provides me real-time traffic alerts as well as speed camera (both fixed and mobile unit) warnings, which I find helpful from time to time. When I’m rallying I will use both the TomTom GO app, alongside my more fully fledged Garmin.
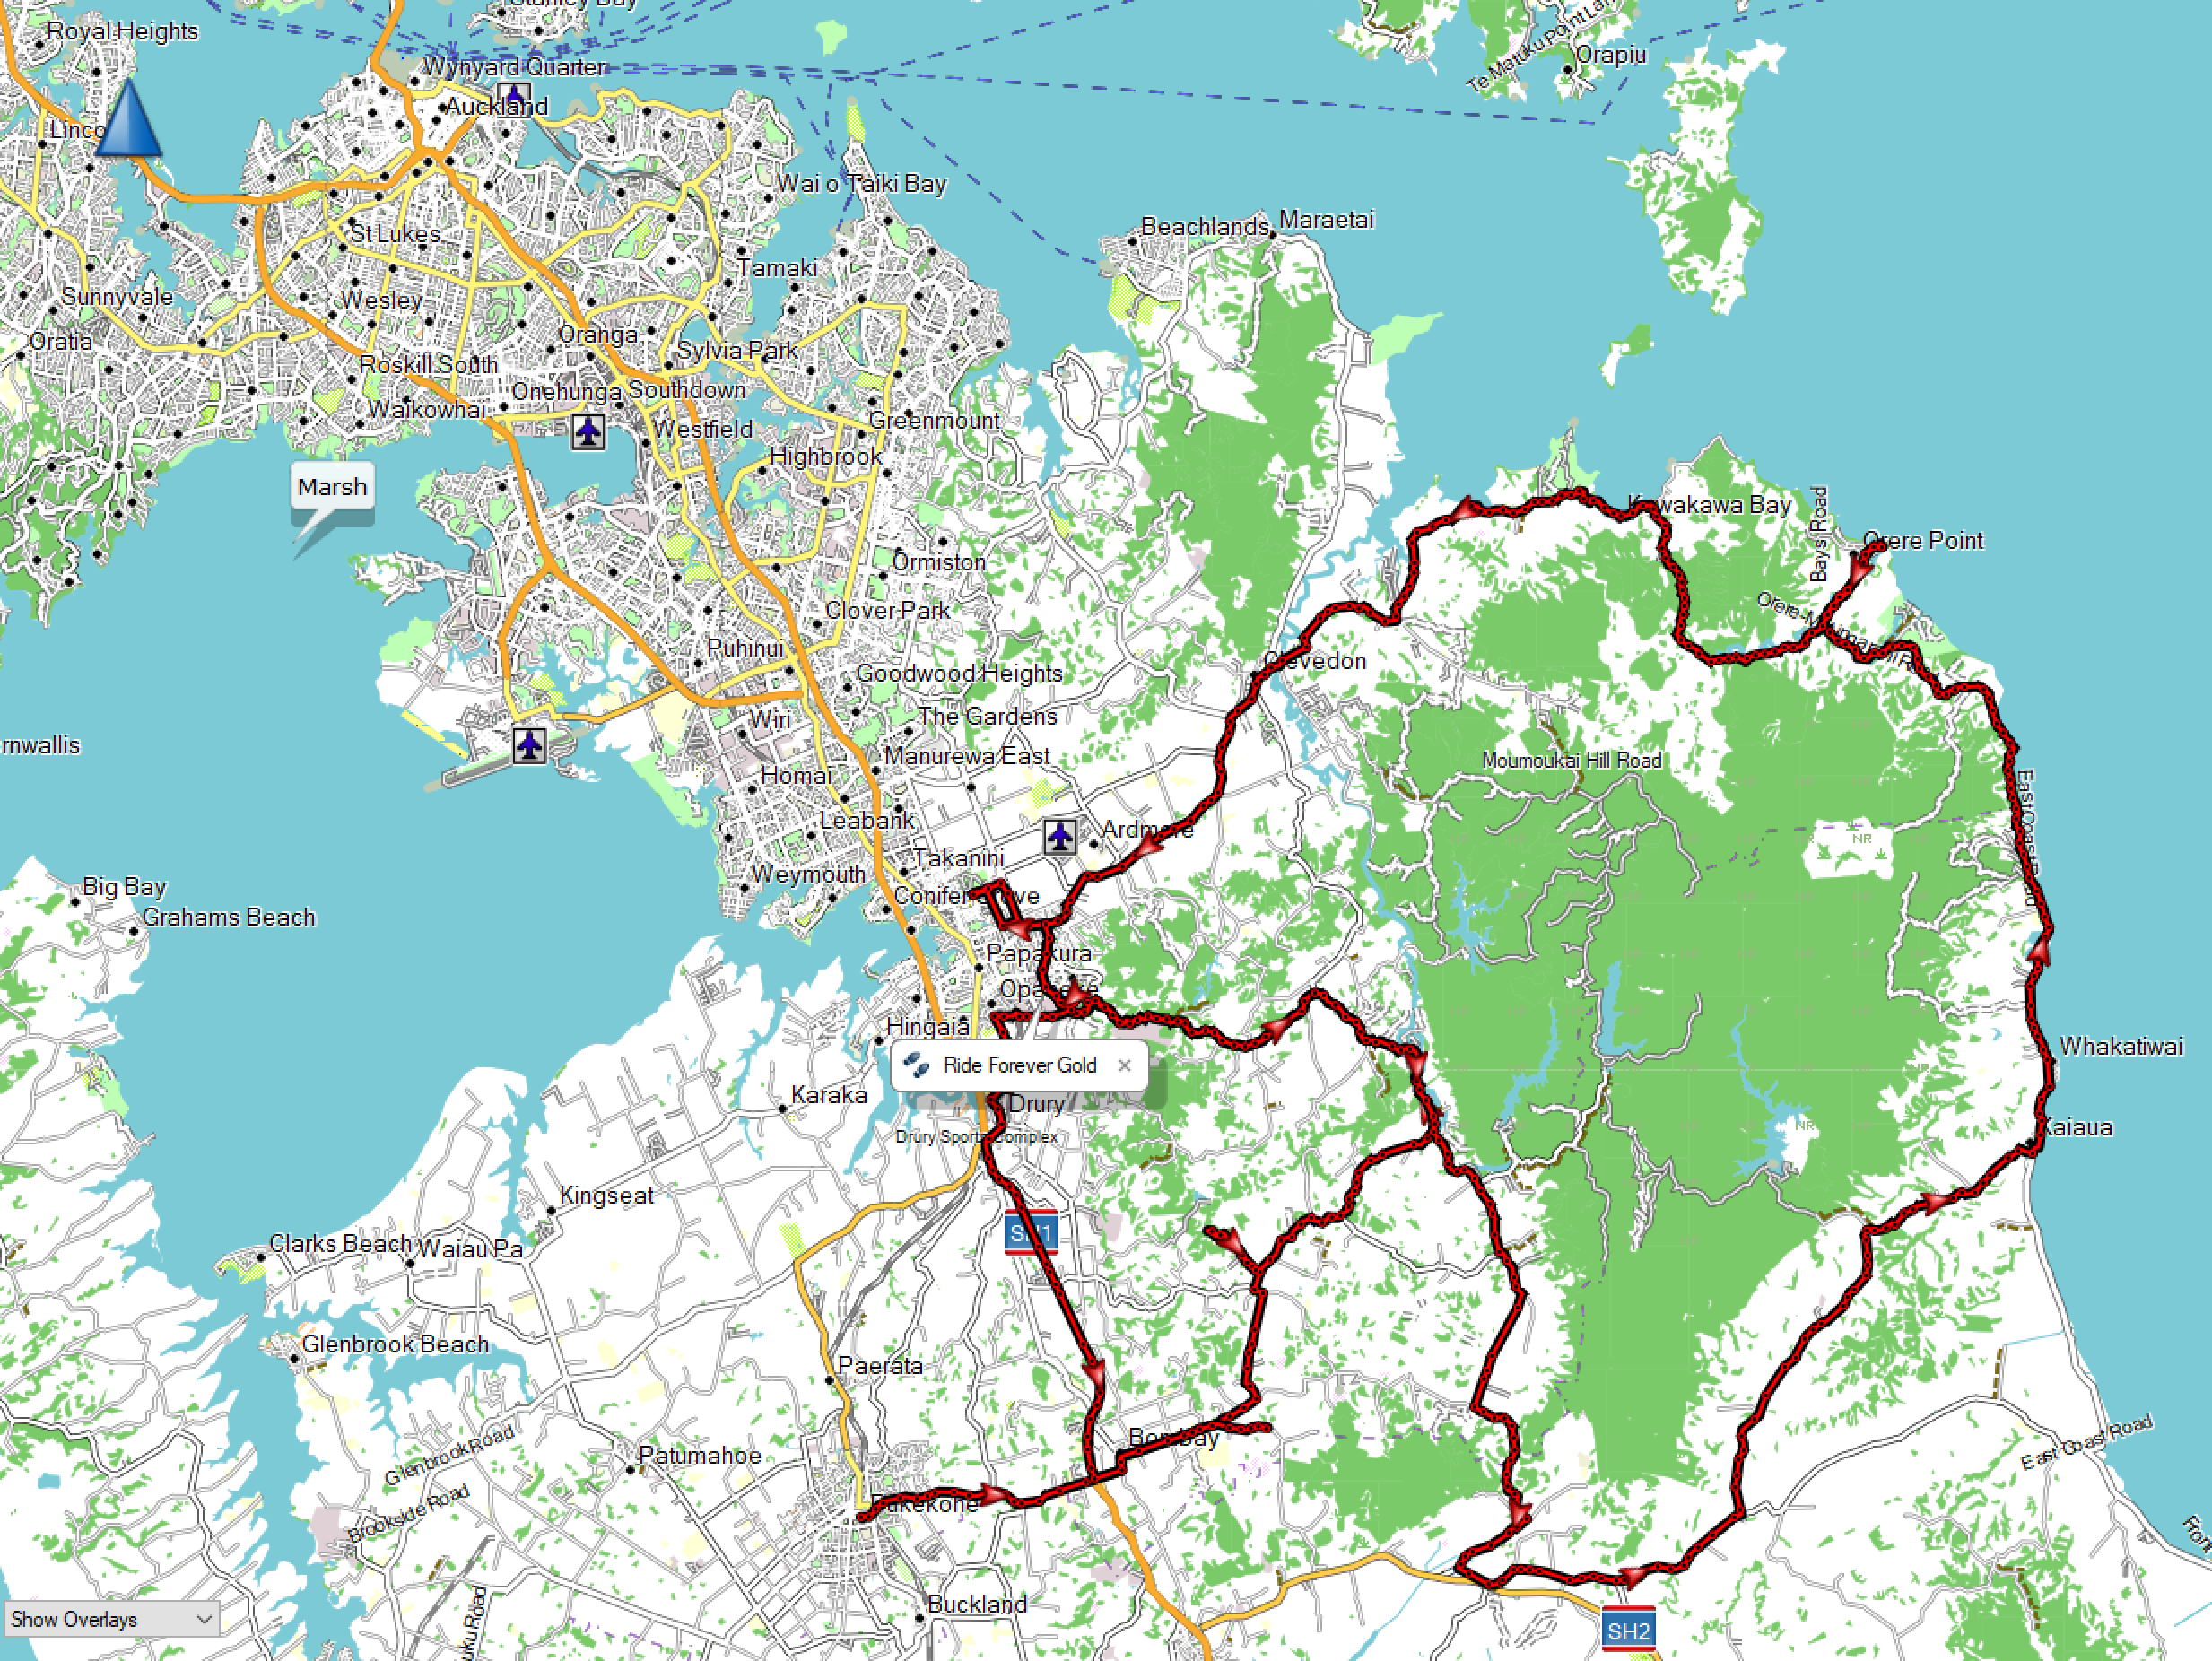
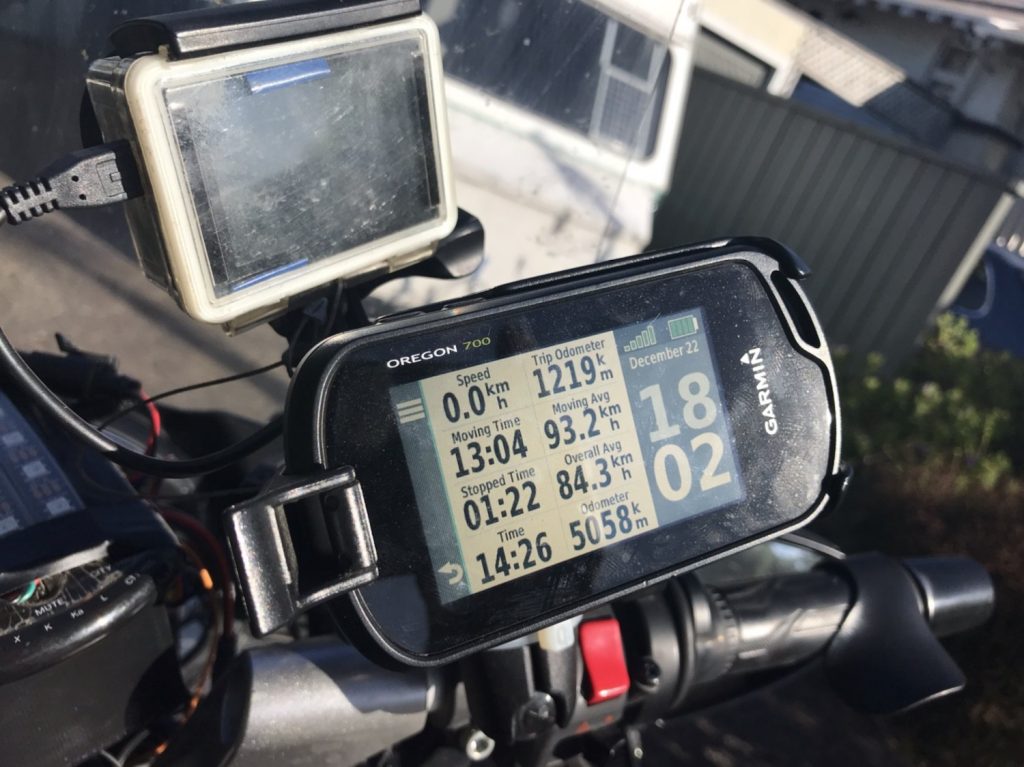
The Oregon 750 (you don’t need to buy the ‘t’ model), is about the simplest Garmin hand-held which I would recommend for the job. It’s able to show a track-up orientated map, with auto-scaling zoom (depending on your current speed and distance for next turn). It has the ‘classic’ view with configurable trip data elements (bottom right, and left of your screen), which might show you your current speed and ETA at dest for example. One click on the ETA field, and it’ll bring up the ‘Trip Computer’ view which again is fully configurable in terms of what data fields it shows you, this time in a data grid of elements. These can include your moving avg, overall avg, trip time, trip distance, distance to next, distance to finish, time to next, time to finish and a heap more, you can set up multiple pages worth of data elements so that whatever you want to see is available on the device.
The next direction (left, right, straight, round-a-bout direction, etc) is shown on the upper left of the screen, and the name of the current road is shown along the top of the screen. I tend to use my device in landscape orientation, but the Oregon model can sense which orientation it is being held in, and can automatically rotate to either a portrait or landscape view. I tend to set my orientation lock to landscape to prevent heavy acceleration or braking from throwing it back into a portrait mode (which can happen).
- What maps are you using?
Not all maps contain the embedded information within them to support the autorouting functions of the GPS. You *can* buy maps from Garmin and the GPS units come loaded with some base maps. – However, they are unlikely to be detailed enough (on the Oregon they certainly weren’t) to perform any level of decent Geocaching, or autorouting functions.
This is where buying a specific country’s map from Garmin, or finding an alternative open-source (free) of good quality mapping information comes in. OSM, or Open Street Maps, is an open-source community-driven mapping initiative who regularly update and improve their mapping content and allow it to be freely distributed out to end-users.
You can see which maps you are using on the GPS itself through the settings, maps menu option, you’ll see it them listed by name with an indicator as to whether they are active or not.
It’s pretty important that you keep the map version which you’re using in BaseCamp and on the GPS aligned, otherwise you’ll find that whatever you plan on the computer isn’t necessarily repeatable on the GPS device itself.
- Want to get some other ones (free and regularly updated)?
When finding a source of OSM maps, there are many avenues you can go down and the way that these OSM collections are compiled can create a different experience. One OSM compiled map is not necessarily the same as another. – There are a number of sources available online, I’ve worked through most of them. From here there is a degree of trial and error, but it’s worth leveraging off the experience of others who have already done the hard yards.
I have found one particularly excellent source of OpenStreetMaps: http://garmin.openstreetmap.nl – they have worldwide coverage available. You can select your country or region, or custom area from their selection options / interactive map, and then request that they custom compile a downloadable collection of map content for you.
OK – So, I’ve made this easy for you, the following link is only really useful for a limited time while these maps are still ‘current’ but if you’re reading this post soon after 8th July 2019, then this will be good for you to use: Click here for the collection which I obtained using the following steps… (This file is 380MB, and contains all of the content shown below – fresh on 8 Jul 2019).
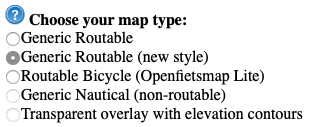
When you go to the site, the first thing they ask you is what type of map do you want? You will need to select either of the two ‘Generic Routable’ styles of the map, I personally like their ‘new style’.
Once you’ve chosen the area to compile, you enter your email address onto their page and then wait in the service queue. Depending on how many others are also currently requesting map content, you can sometimes have to wait a while. – They send you an email once the map has been built for you which contains a download link and a description of the files which are included:
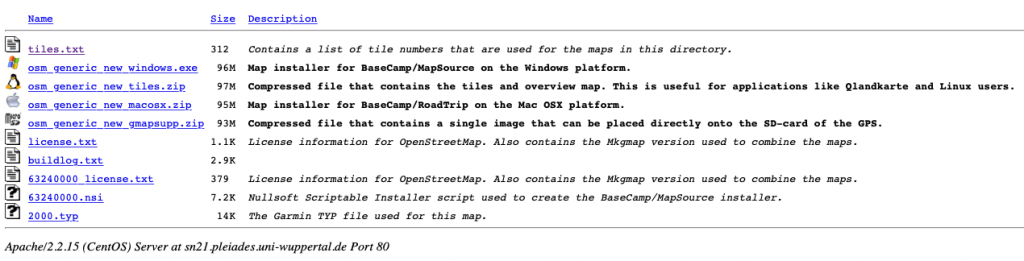
The server has generated four different configurations of your map:
* _windows.exe = Installer for Garmin BaseCamp/MapSource (Windows).
* _macosx.zip = Installer for Garmin BaseCamp/RoadTrip (Mac OSX)
* _gmapsupp.zip = Combined image for direct manual placement on the GPS device (gmapsupp.img)
* _tiles.zip = A zip file containing the tiles in the request, especially useful for Linux users (e.g. QLandkarte)
You have a time-window of approximately 96 hours to download your files, after which they recycle their diskspace by removing them. My NZ collection had individual installer files which were approximately 100MB each. Their file listings look like this:
Since you won’t be able to get back to this page again, it’s worth just creating a new folder inside of your downloads area on your computer, and fetching every one of these. You may find a use for them later, especially if you need to reload them onto your GPS at a later date.
Once you have the files downloaded, unzip all of the zip files into individual sub-folders. It’s important to understand the purpose of each of them and what they’re intended to help you with, the image above contains useful descriptions.
I’m a Mac OSX user however I really dislike the Mac version of Basecamp. I am lucky enough to also use Windows 10 inside of a virtual machine within my OSX and so I choose to use the Windows version of Basecamp instead. There are certain things you can do much, much more easily in the Windows version.
- Installing the OSM maps for use in Basecamp and to the GPS device / Do they work properly?
Installing into Basecamp for Windows.
I’m going to focus on the osm_generic_new_windows.exe and the osm_generic_new_gmapsupp.zip files.
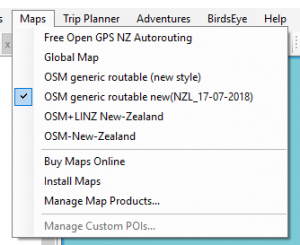
First, before you start, take note of the names of the Maps which you already have available to you within Basecamp. Open the application up, and open the Maps menu item, if you can take a screenshot of the named maps for later reference.
Here’s my list before updating them today:
Now close out of Basecamp and find your downloaded files, locate the one called ‘osm_generic_new_windows.exe‘ – Double click the filename to run the application. You may be asked if you want to allow it to make changes to your computer:
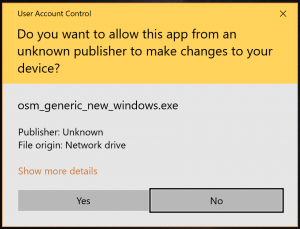
You have to say Yes to this in order for things to work… It asks you about your language selection, I chose English… It may then tell you that you have already got a map called ‘xxxxxx’ installed already and would you like to overwrite it?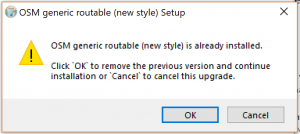
This is the name of the map which you’ll have installed once you’ve finished… Take a note of it. I said yes to allow mine to be overwritten (I’ve already used this source a number of times)…
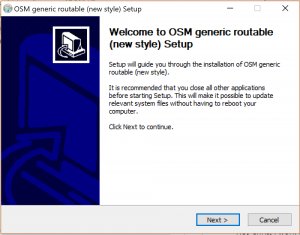
You’ll get a confirmation box showing and you’re required to hit Next to continue now… Then there’s a license agreement page. ‘I Agree’… Then you get to choose a folder name…
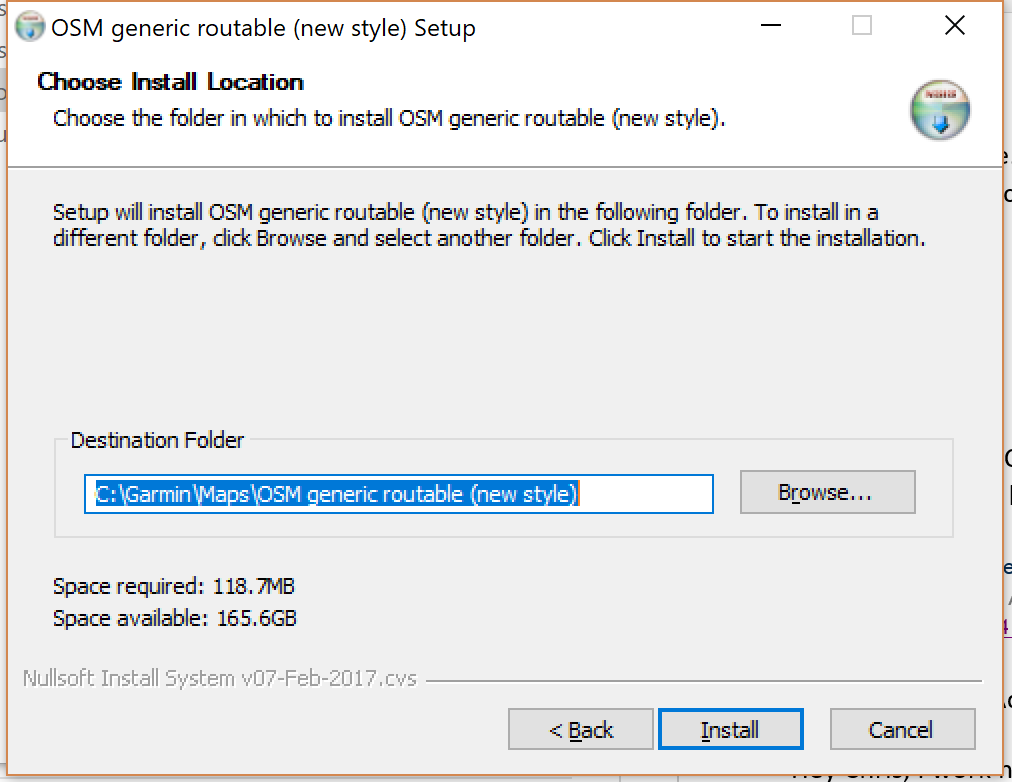
I personally like to change the name of the folder which this is installed within to indicate both the contents of the map, as well as the date of the compilation. So I’ll edit mine and change it to ‘C:\Garmin\Maps\OSM routable NZ 20190708‘
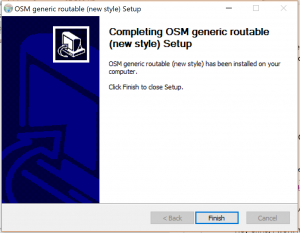
The installer then runs through the included contents unpacking them and installing them into that folder. Finally, you will receive confirmation that it’s installed the map correctly:
If you didn’t have these maps previously installed, when you next open up Basecamp you should now see the map listed under the Maps menu. In my case, it’s not changed the listed content since it over-wrote the previous map with the new one.
To use the map, select the one which is listed as ‘OSM generic routable (new style)’ from the Maps menu.
This is half of the installation done. For this to work properly when you move content from Basecamp onto your GPS, you will ideally have the same map package installed onto your GPS. – More about that below…
These maps are super detailed, once you’ve chosen the OSM map, turn the detail level up to ‘Highest’ and then take a look around some of the areas which you know well. The number of PoIs is impressive.
Compare that to the base level ‘Generic Global map’ which is offered in Basecamp:
Chalk and cheese in my view, as long as these route well, they’re far superior in my mind.
Installing onto your GPS.
I have used this method to upload OSM maps onto Garmin’s ‘BMW Navigator VI’ units too, to provide updated maps for my friends’ bikes before we’ve headed out on a big rally… – They work well on the Navigator series too.
As we did with Basecamp, before you start, go onto your device and have a look under Settings, Map – view the maps available to you on the GPS and take some notes of the names of them and how many you have available to you. When we’re finished, you will want to check through these again and positively see the new map, so grabbing this baseline view is pretty important.
I have assumed that you have either added into your GPS a microSD card, or your GPS has come with sufficient onboard memory for you to load onto it ~100MB of additional maps. This is most often the case. You can hold off buying and adding an additional microSD card unless you know you need it.
Installing these maps onto a device is dead simple:
- Plug the device into your computer using a USB data cable.
- Get your computer to recognise and mount the storage in your device as an External Hard Disk.
- You may need to go into your devices ‘Connection’ settings to change the USB connection mode, to allow this, this is known as ‘Mass Storage Mode‘. – There are plenty of pages and model specific resources to help you work through this basic requirement, like this one: https://support.garmin.com/en-PH/?faq=6ddxME08Hr3mwhVM3P5F0A – I always find it’s a good idea to read the manual and get to know your devices properly!…
- Make sure you have unzipped the osm_generic_new_gmapsupp.zip file into its own sub-folder (from the content which you downloaded earlier).
- You will have unzipped a file: gmapsupp.img
- If you have other collections of maps also from OSM on your device already, then you may need to rename this map file to something which is unique for this collection. This would allow you to have more than one map on your device from OSM. Most people won’t need to do this straight away when you’re doing this for the first time.
- Simply copy the gmapsupp.img file to the /Garmin/ folder on the mounted External Hard Drive (your Garmin device).
- Once the copying has finished, ‘UnMount’ or ‘Eject’ the Garmin device from your computer, which will safely close the file before it is removed.
- Unplug your Garmin device from the computer.
- Power it up, watch the screen as it loads the new content for the first time, it will take longer than usual during this first boot as it will be opening and indexing the content.
- Once it’s booted, go into the Settings, Maps options, and look at the list of available maps. Turn OFF everything other than the one which you’ve just installed. You’ll know which the new one is as you took note of the previous contents before we started.
- View the maps in the same way that you checked the Basecamp maps, zoom in, have a look around. Make sure in your maps settings that the detail level is set to high or highest so that you get to see all of the PoIs.
- Try navigating to a far off city using the Where To, enter address options and type the name of the city, or browse the map to find a far off place, and then touch and hold the map to drop a point then select GO.
- It should think about things for a while then offer you a route to the destination.
If all of this seems to work, then it’s a pretty good start, and you should have a reasonable amount of confidence that the installed maps are working as autorouting maps. 🙂 Your device should have obtained a GPS fix on your location before you do this, and you should also have been able to look at that location in the map view. – I’m hoping that it’ll be showing details of your surroundings, and not just showing you a blank, blue background, looking like you’re in the middle of one of the Oceans?…
If you can’t see surroundings, then check both the map settings to make sure you’ve got the right one active and also your GPS lock / Satellite screen to ensure that it has correctly located you.
The next step is to try to create something useful in Basecamp and hope that you get the same results on your device when you need to use it for pre-determined-routed rides. There are some safety-net hints and tips I can offer you for this which I’ll cover in another post.