So. Watching the Iron Butt Rally riders depart on their huge rally earlier this year inspired me to want to build an electronic controller for my auxiliary lights which I had already fitted to my R1.
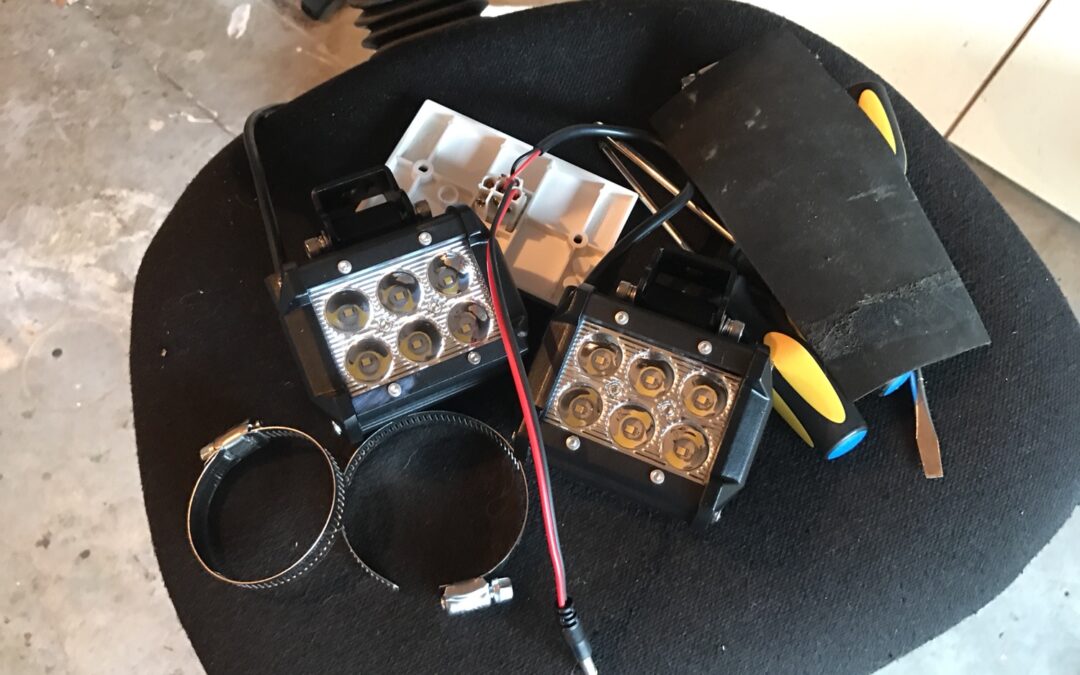
In prep for my Saddle Sore 1600k ride in March this year I fitted 2x 18W LED auxiliary lights to my bike. They’re amazingly effective additional lights. I added one to each of my forks and tilted them slightly upwards and out so that when the bike was leaning at night it would help to light through the corner. There’s a black area on most motorcycles’ headlights when cornering, as the bike leans they often need additional lights aiming up and into the corner in order to light up where you need to see.
Anyway, the IBR riders make heavy use of auxiliary lights and theirs appear to be far more expensive than the US$20 which mine cost me off Amazon, I imagine that theirs come with built in flicker controllers. Mine didn’t, so with a bit of electronics and arduino programming I’ve managed to make mine work to a similar effect.
IBR riders:
What do I mean by flicker? It’s a high frequency flash. It’s also deliberately on for longer than it is off. The off periods are short interruptions to the longer on periods per cycle. Taking this approach helps to keep the received intensity of the light as high as possible. If you were to 50/50 on/off then you effectively half the receiver’s light energy. By skewing the light to dark periods you can retain almost 80% of the lights normal brightness while the flicker can greatly help to capture attention and be help to be seen by other motorists.
These are the light being fitted in March: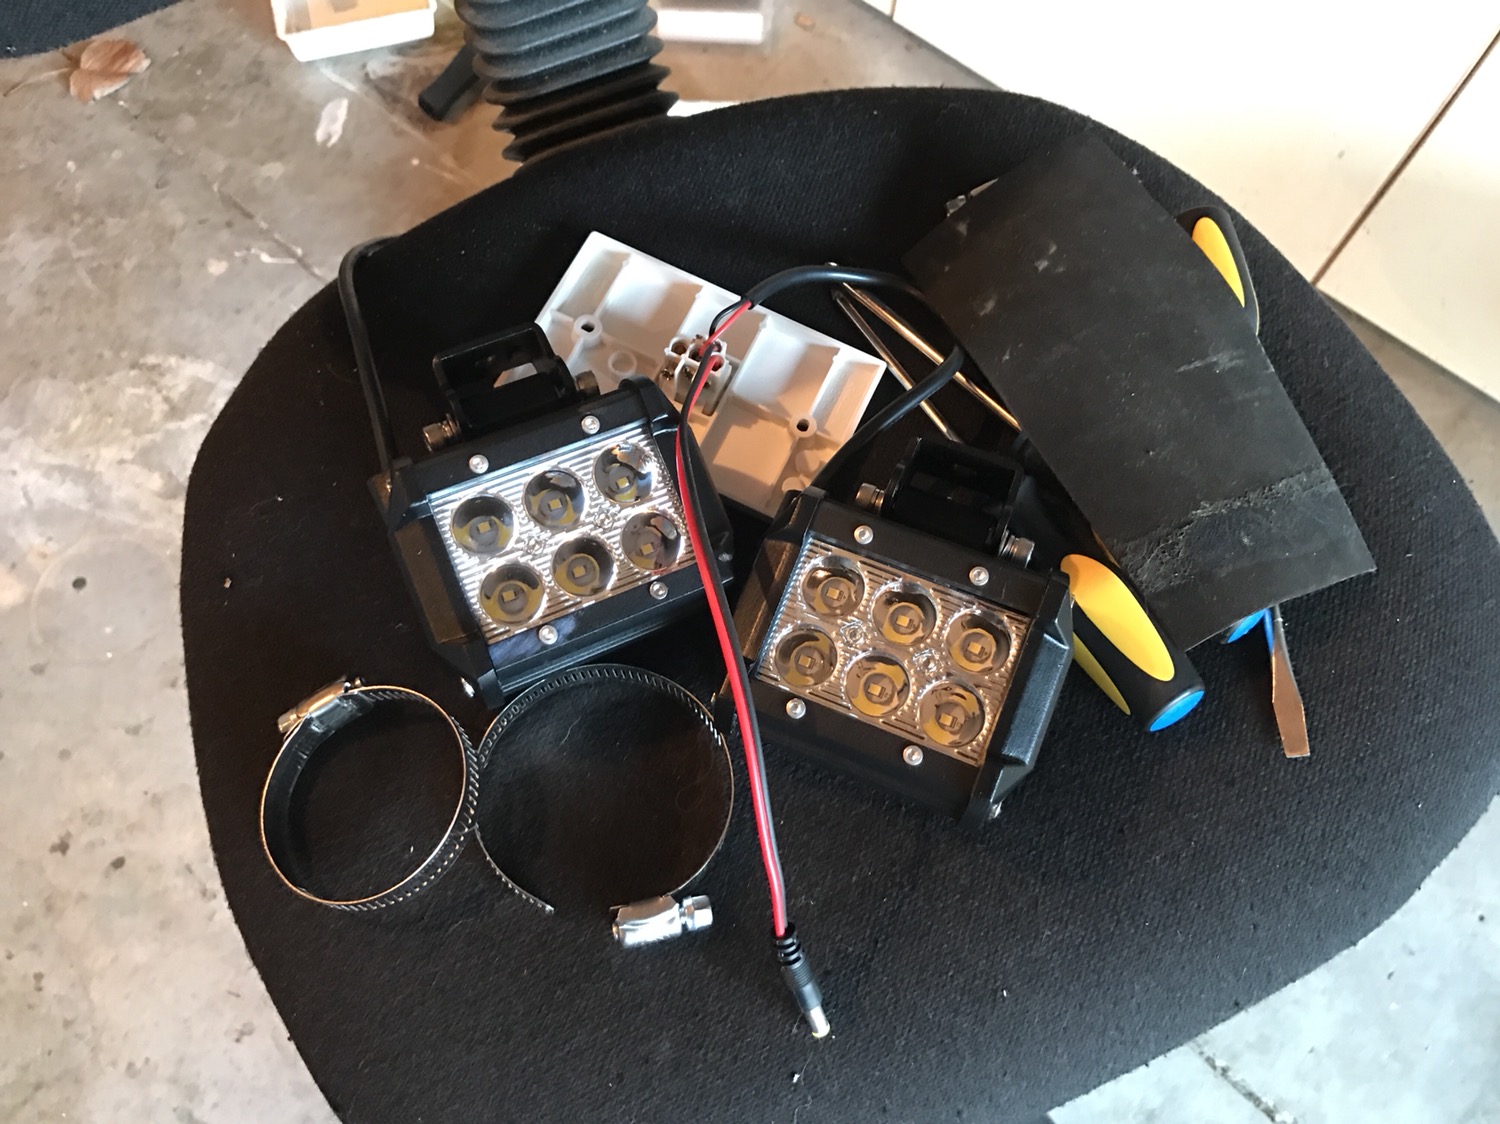
They used to use a simple relay triggered off the high beam.
Today I’ve fitted the new controller:
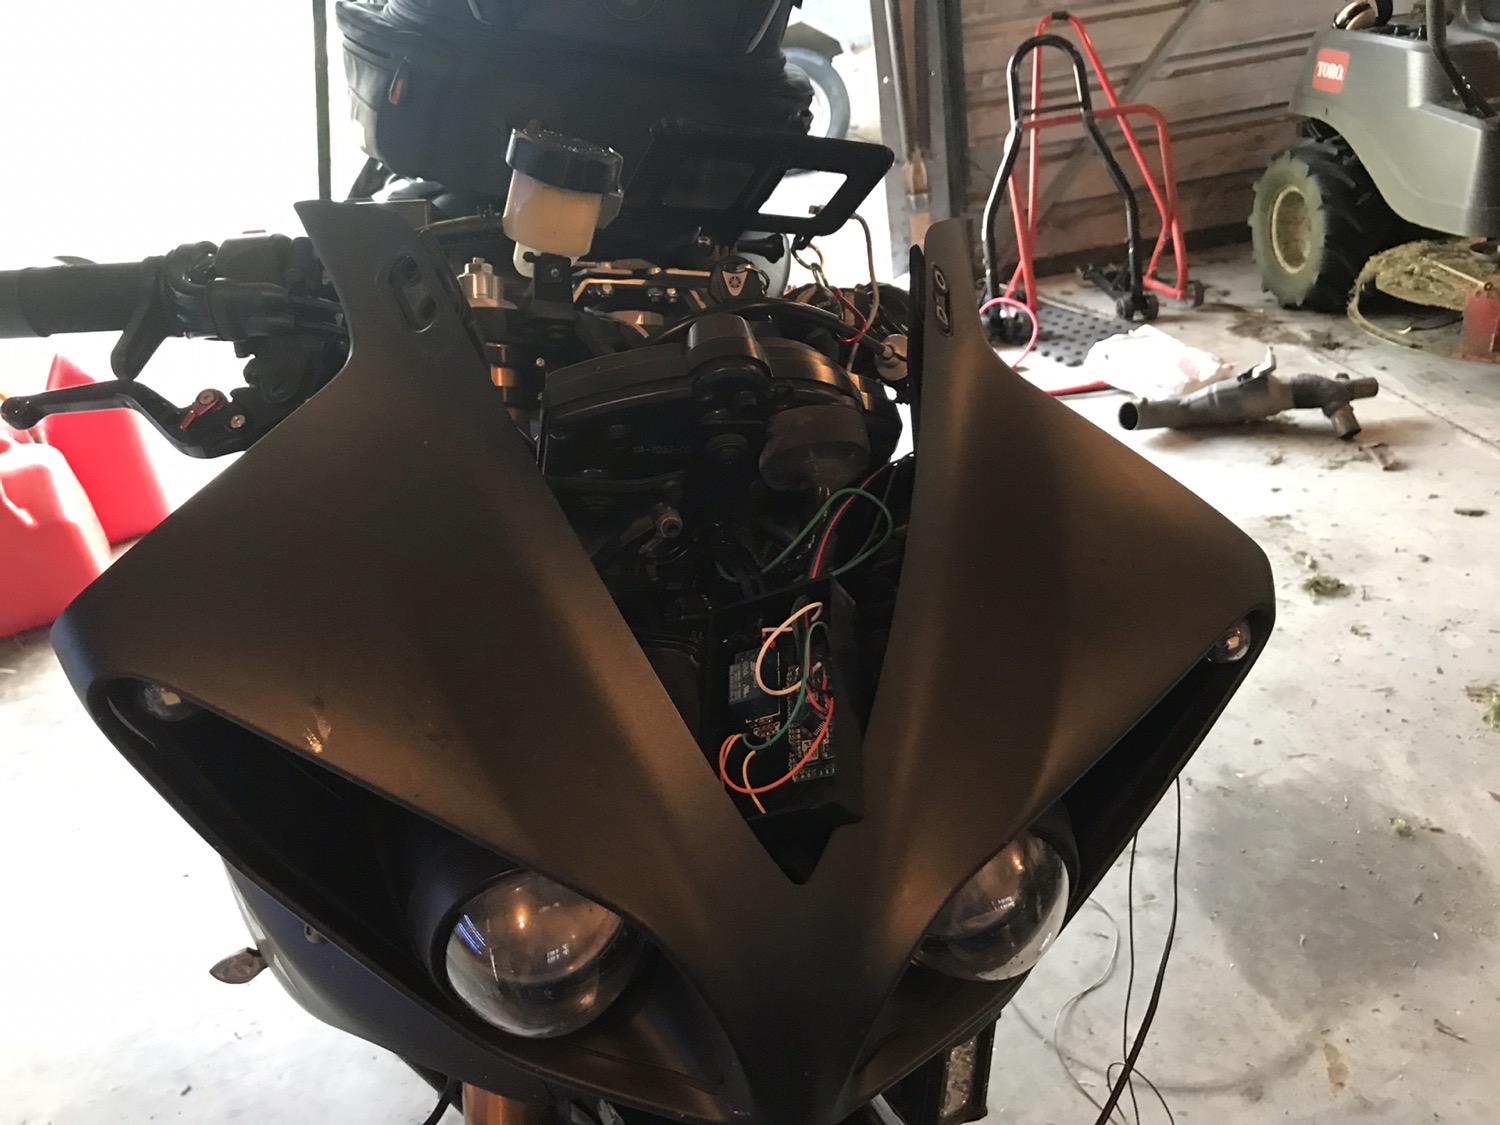

Made with an arduino micro processor and a logic level relay (5v), I’ve been able to take power from my headlight circuit for the controller board, a sensor feed from the high beam and inputs from two switched which I mounted to my clip on handle bars.
The nano arduino was about NZ$3.50 the relay board was about $5, the box $3
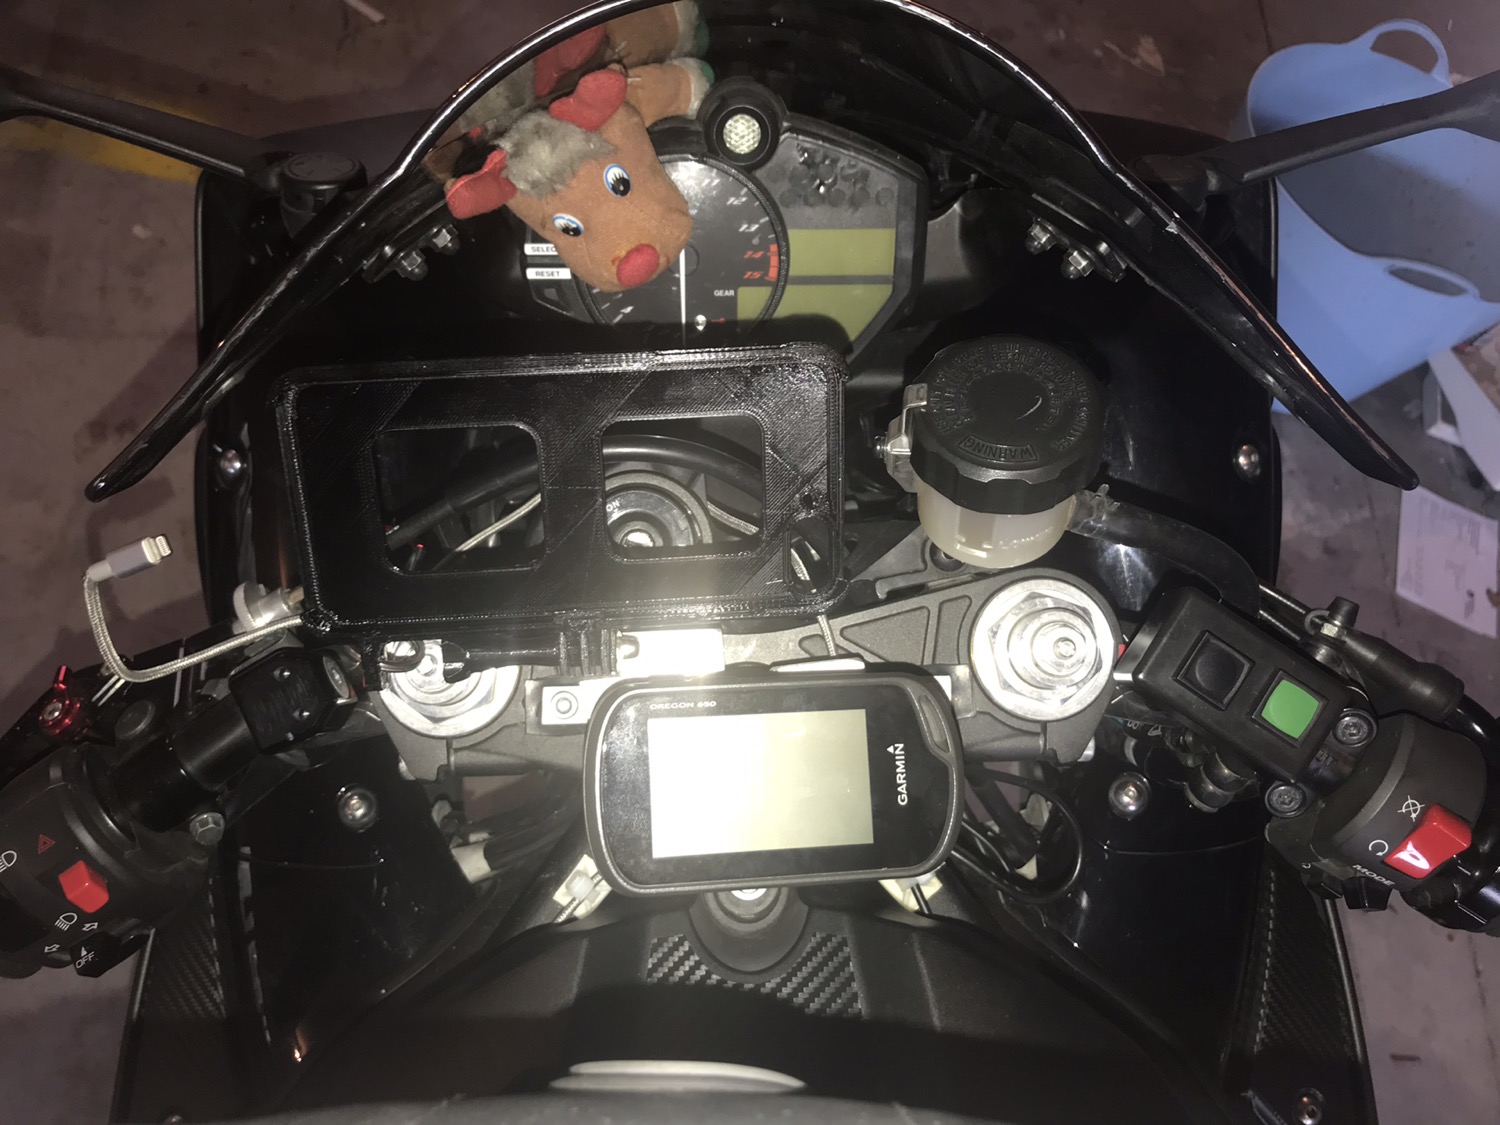
You can see the green and black membrane push buttons mounted to a box on the right bar. These are waterproof buttons from RS Components costing about NZ$10 each. This box was ~$2.
All up I spent about 4 hrs developing the circuit design and programming the arduino. I messed around with some 3d printing designs for boxes which I chose not to use. Fitting this today took around 4 more hours.
You can see the end result in the final video and a little bit more of the assembly in this video here:
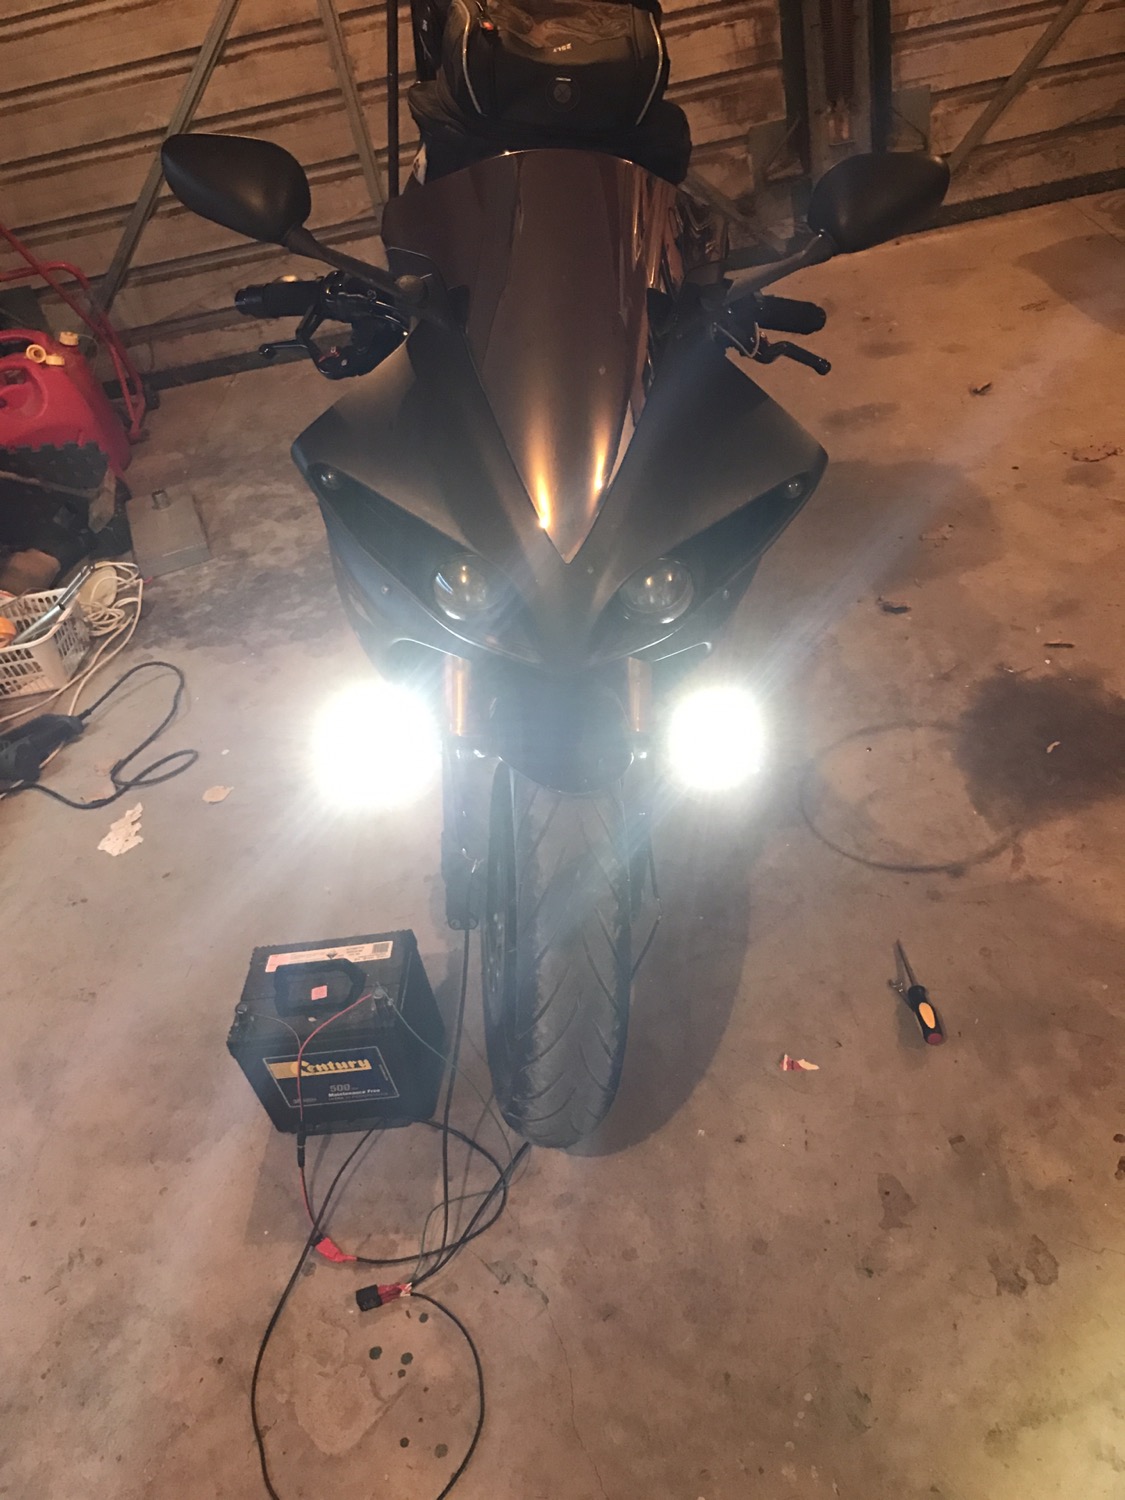
The end result: