My Random Stuff:
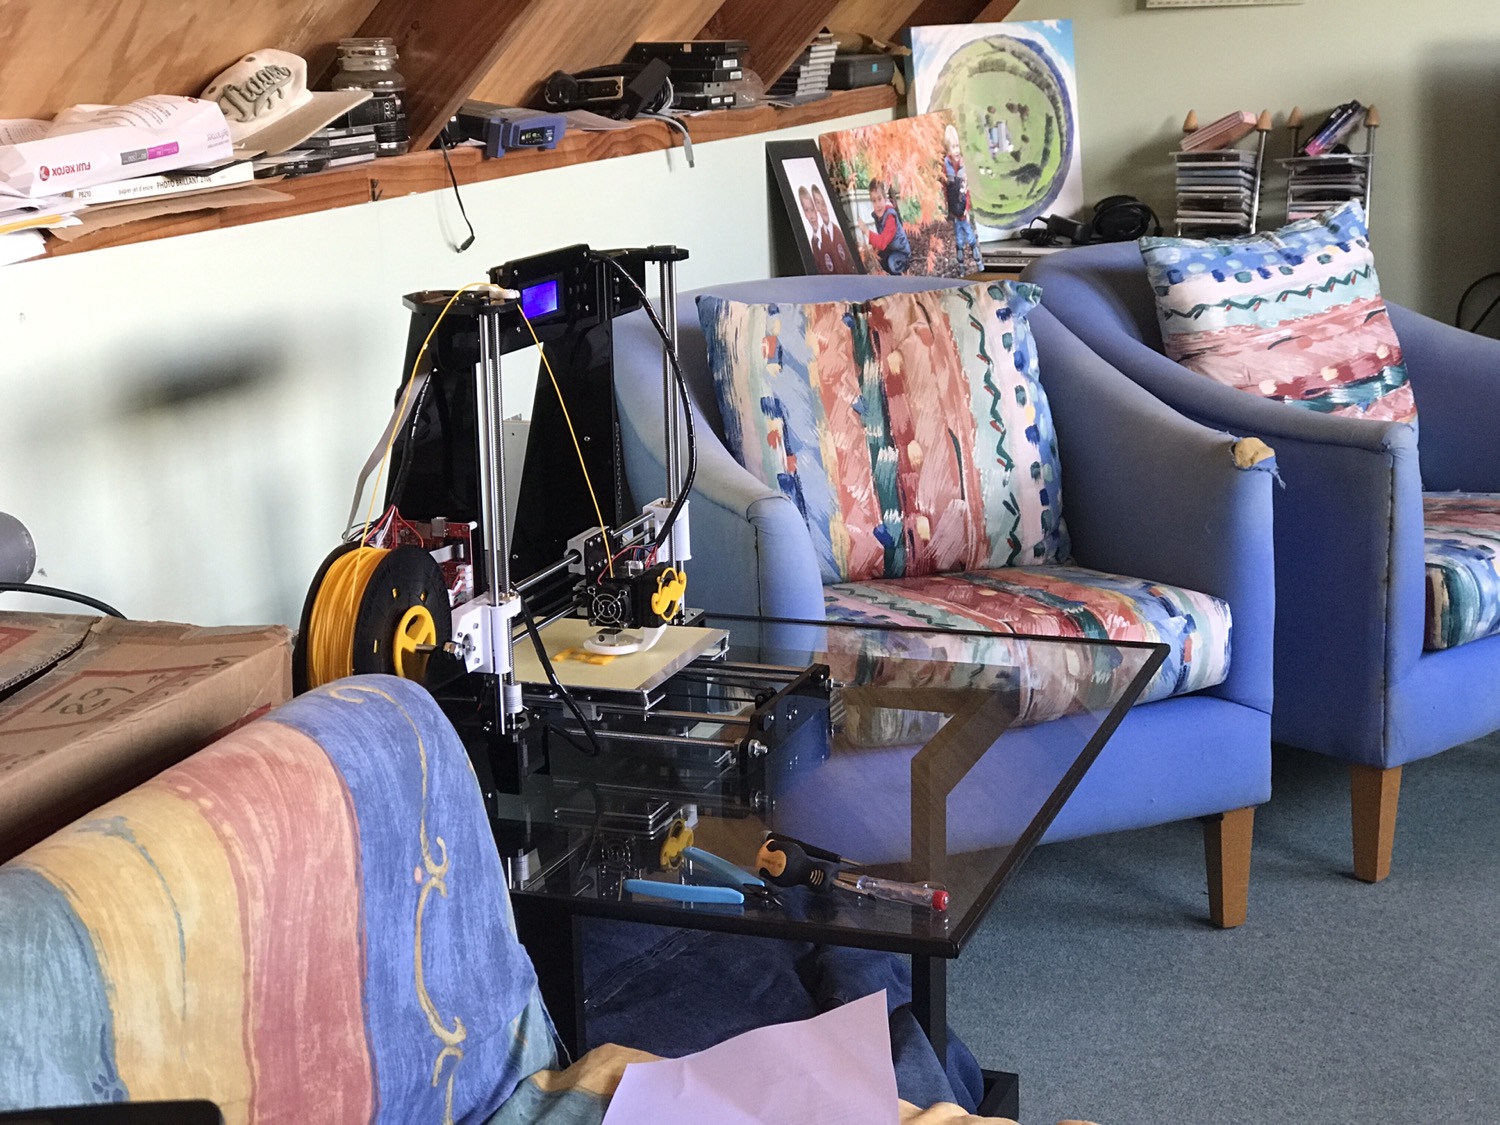
- The link I used to buy my printer: http://www.gearbest.com/3d-printers-3d-printer-kits/pp_337314.html? – it arrived in around one week to NZ from China. (~$270 delivered) – They’re available locally within NZ (still as DIY kits) for around $399.
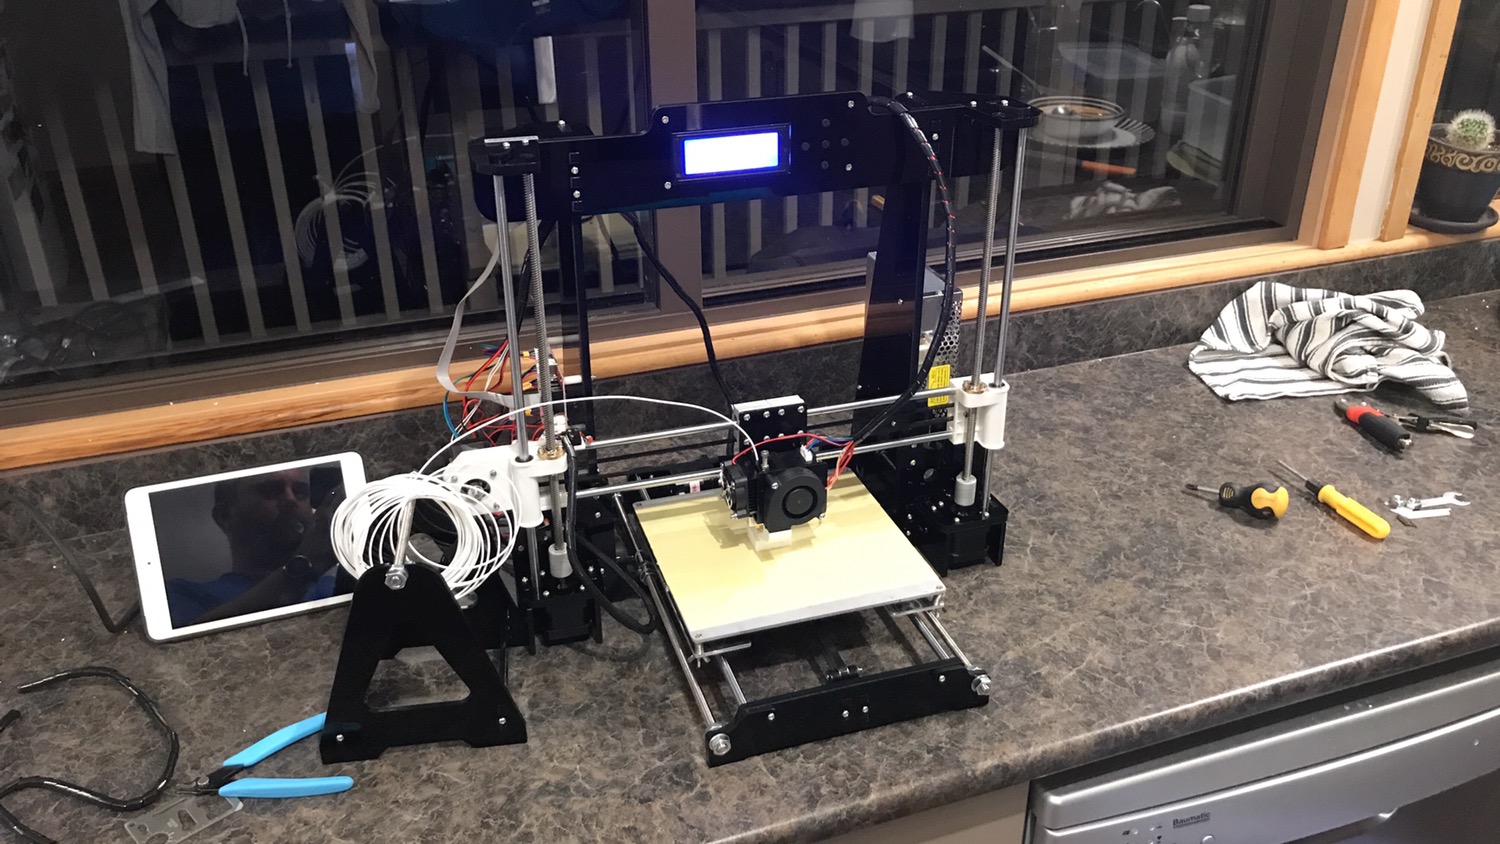
- Took me ~7 hours to assemble this, it’s a DIY kit of an open source printing system. Essentially these guys make the acrylic frames etc, package it up and ship it with a standard controller board and open source software etc loaded onto the SD card.
- I was printing within 7 hours, without any direct instructions from anyone, following YouTube video assembly instructions and having read a heap on forums during the prior week.

What I learnt from the forums:
- You’re going to want a glass printing sheet for the bed. NZ$13.50 – (ebay link)
- You’re going to need to use Hair Spray on the glass.
- You’re going to need to use masking tape as an alternative to the above.
- The Power Supply Units in these things are weak and crap (mine lasted 4 hours) – 12VDC output @20A.
- I knew this and so didn’t panic when it appeared that I was having some pretty major power issues. – Instead I confirmed it was the PSU, then grabbed a 12V car battery from the garage and continued printing. The next day I was lucky enough to get a very old ATX PSU from an unused very old computer, figured out how to wire it all up, and used that instead, this was a 305W supply, so capable of putting out around 25A @ 12VDC.
- I had already ordered another more powerful, replacement PSU unit (in a similar style to the original [not an ATX] from Amazon): NZ$20 – (Amazon Link) – This hasn’t arrived yet, so the ATX unit will do perfectly well until it arrives. I will use this unit when it comes though as it’s tidier and will mount back on the side of the printer’s frame.
- The plug units, and the wiring in these can be a little on the ‘thin’ gauge, do not trust the plugs, they can heat up and melt if not properly connected.
- To help to protect the main board, you can take some current away from it by using a MOSFET unit to switch the heated printing bed current: NZ$8 – (ebay link)
- Always use quality crimped spade (or ‘U’ connectors) on the power leads from the power supply board, crappy low quality crimps or bare wires will end up vibrating and eventually wobble semi lose, causing a high resistance / disconnect and possibly get very hot.
- There are a heap of ‘add-ons’ / improvements which you can print for your basic printer assembly such as fan ducts etc to make it better, you will spend the first three weeks printing stuff for your printer. 😉
- Levelling the bed is something which newbies underestimate, and often don’t get right, which leads to the majority of newbie printing problems. – The most common of which is that the prints do not stick well enough to the bed, and the printing head is able to move an in-progress print around – causing it to fail.
What I learnt from my first few days of printing:
- You need to ‘Slice’ your designs, the printers themselves don’t do this, they take a format of instructions known as ‘GCODE’. – A slicer creates this.
- A printer specific / personalised profile is needed to create a suitable GCODE for your printer, there are various things embedded within a GCODE file which would essentially make it suitable for one printer and not for another.
- The most popular, easy to find and use Slicer is called Cura, it is free / open source. The Windows version which is very popular is very dated now, but I believe it’s still the best functioning version out there. It seems that there were some updates to the Slicing Engine some time ago which meant that a lot of people ‘hung-back’ on performing version upgrades, and the older versions are still the most recommended and widely used.
- A newer version of this is available for the Mac, but the older ones appear not to be, I could not use the profile file which was supplied with my printer with the Mac version, and I never managed to get the Mac version working well enough through manual configuration work; essentially I gave up and continued to use what worked…
- The Cura Slicing engine is available within the OctoPi printing system, and its interface is nicer and better presented through the web interface than the (old) Windows version of the software. – Amazing to be able to say that!…
- PLA is the most basic of the plastics which can be used to print with, it’s reasonably flexible, easy to use, prints at temperatures between 190-220 deg C, it is not toxic, it does not smell or give off fumes when being used. It’s also biodegradable. It comes in spools of up to 1kg each.
- The best value for money I have found is 1kg, delivered to my door for NZ$35 from a local supplier. (http://3dprintingservices.co.nz/product/2x-pla-bundle-premium-plastic-filament-1-75mm-2x1kg/) – This compares favourably with ebay vendors, who would charge ~$44 for the same service, although the shipping of 1kg from China will be a large part of that.
- When desperate, as I was when I ran out of my ‘sample’ PLA in the printer kit (they give you ~5m, that’s all), I was able to get some PLA from Warehouse Stationery, but it was $60 / 600g. – That is NOT cheap.
- It’s available in all sorts of colours, including transparent, and transparent coloured too, and black and white.
Other random things:
- The ‘live link’ to my 3D Printing system is here: http://home.splodge.co.nz:8181 – if it’s not working, that’s probably because I’ve ended up having enough of sharing my printing with the world. 😉
- I bought a Logitech C270 webcam for this, which I found was specifically compatible with OctoPi – https://www.playtech.co.nz/logitech-c270-hd-webcam-720-resolution.html this is what is sharing my printing images with the world. What’s nice about this, is that it’s the cheapest entry level 720p which is on the list. 🙂
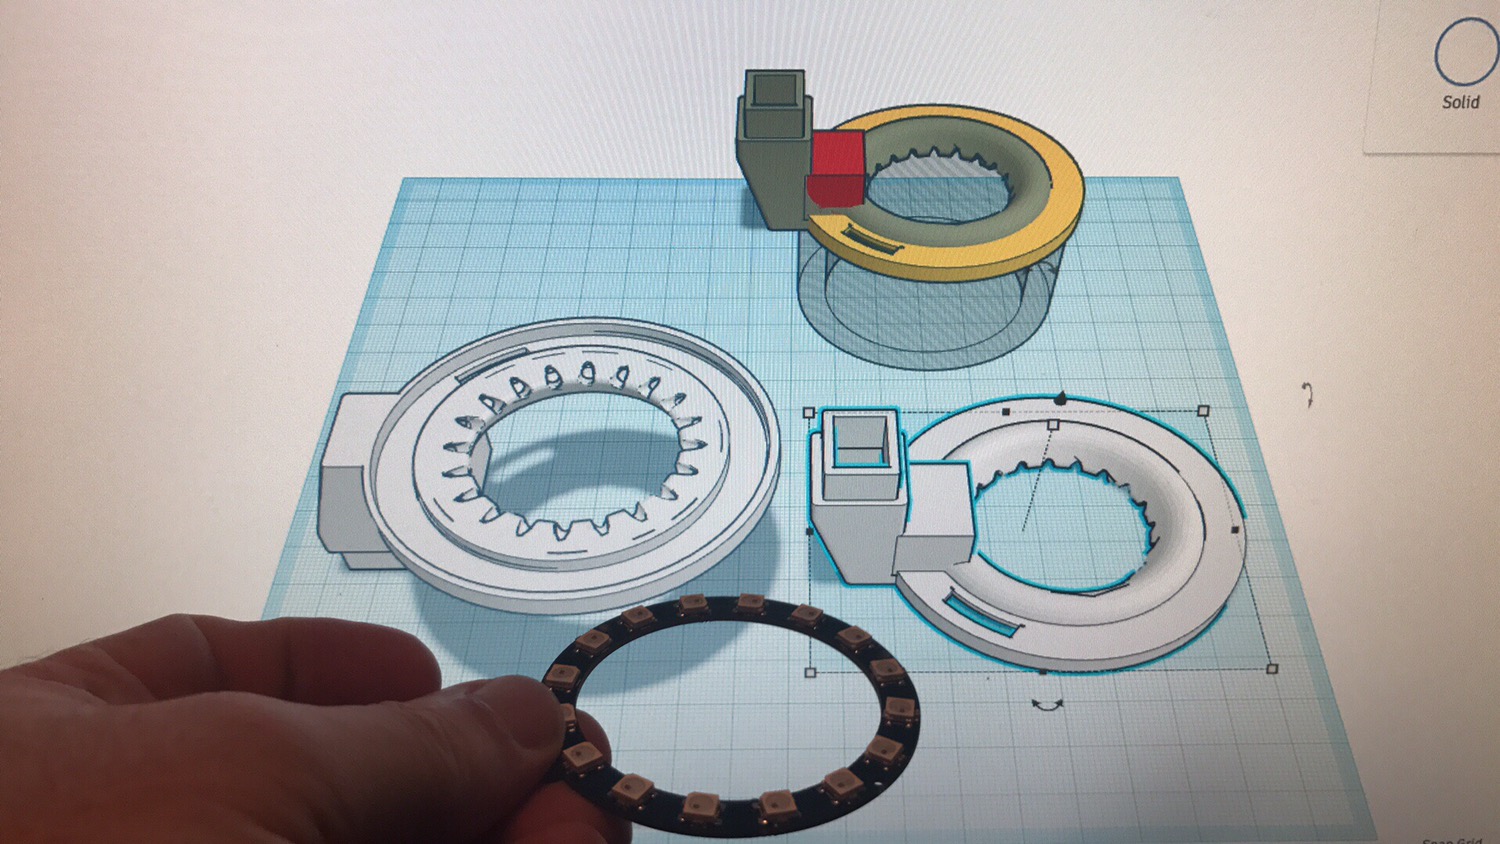
- My Thingiverse ‘Stuff to Print’ collection: https://www.thingiverse.com/Cretti/collections/things-to-make – please don’t judge me. 🙂
- My TinkerCad profile: https://www.tinkercad.com/users/eCQNR7Mx3gM-cretti/
- The Raspberry Pi software which allows me to control my printer remotely and view my webcam: http://octoprint.org
- It’s open source, and downloadable as an IMG file which you can write to an SD Card, then fire up, it honestly doesn’t get any easier than that!
- Very useful topic on Thingiverse’s forums describing how to edit GCODE, using a search and replace function to add in a pause and shift to the side to allow you to change filament (colour) half way through a print at a certain layer number: https://www.thingiverse.com/groups/simplify3d/topic:10525